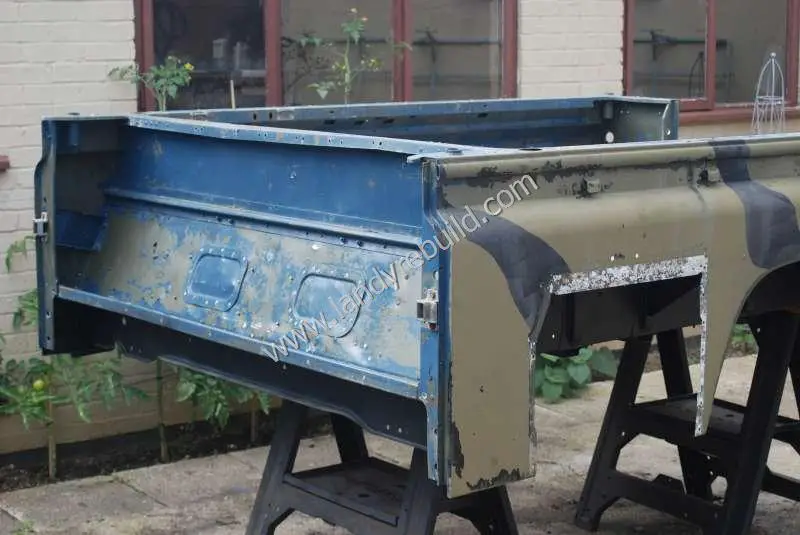
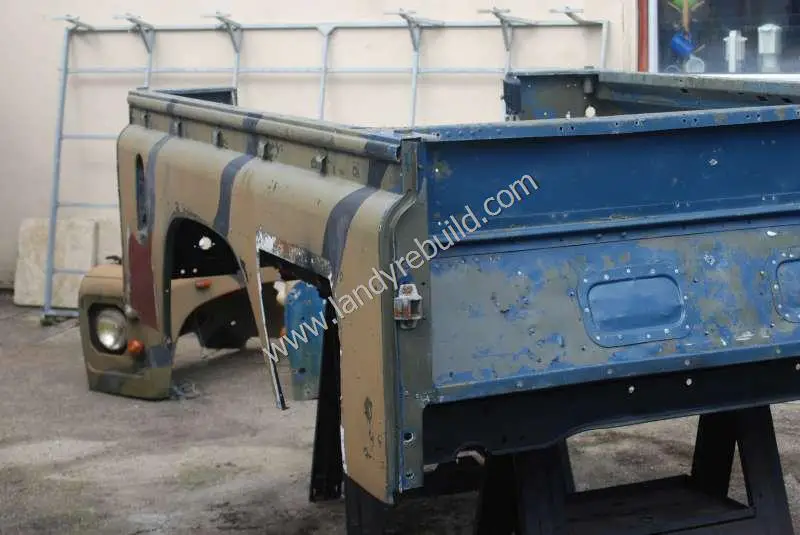
The rear body had been left upside down in the back courtyard whilst the chassis, axles and suspension were renovated. With these jobs done, I now had a rolling chassis, and it was time to turn my attention to renovating the rear tub.
The first task was to move away all the pot-plants with which my wife had attempted to hide the huge piece of Land Rover in her garden. I then enlisted her help in lifting the rear tub onto some trestles, still in its inverted condition.
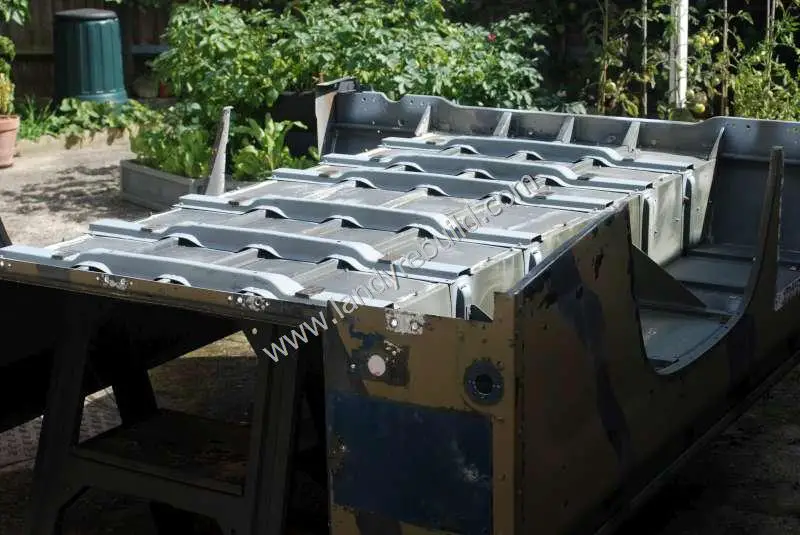
I pressure washed the underside of the rear tub, and discovered that the crossmembers had been acting as mud traps. These were galvanised though, so were fortunately not rusty. Once all the mud and sand had been washed out, I let them dry thoroughly, and then gave them a coat of zinc primer:
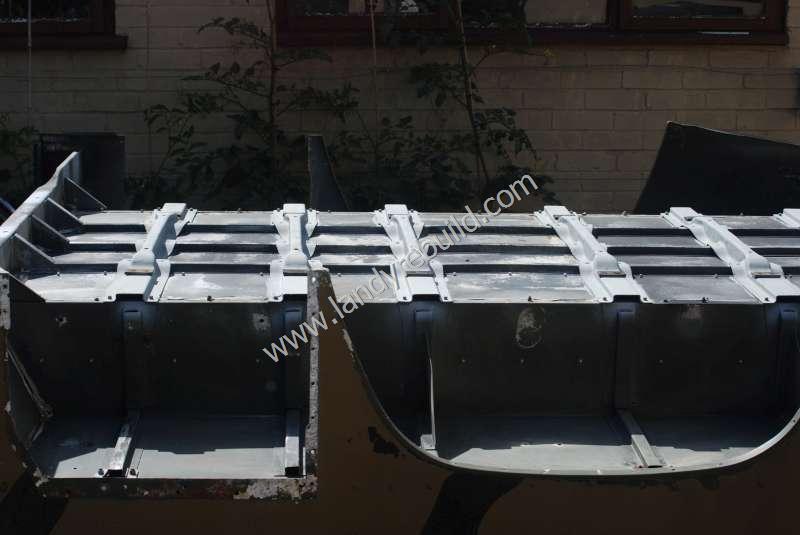
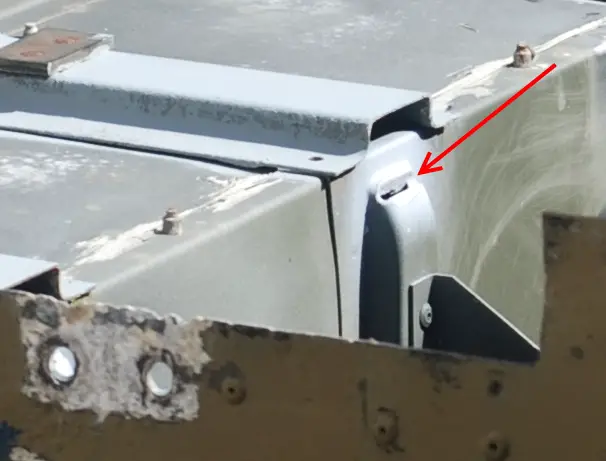
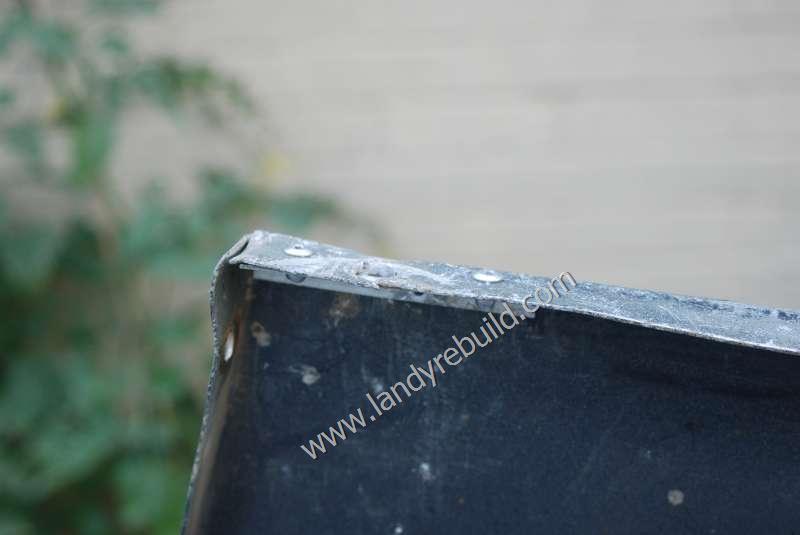
I had also used a cutting disc on an angle grinder to create small slots in the sides of the crossmember uprights, so that they would not trap mud and water in the future. This should not have much effect on structural strength. Here's a closer view of this:
At the front of the rear tub, where the brackets bolt onto the chassis outriggers, there was some galvanic corrosion. I cleaned these areas back to bare aluminium, getting rid of all the white oxidised bits, and then sprayed them with an acid etch primer.
When the rear body is replaced on the chassis, these areas will be insulated from the steel brackets with some 3mm single-sided foam tape which I bought online from Affixit, to prevent galvanic corrosion happening again.
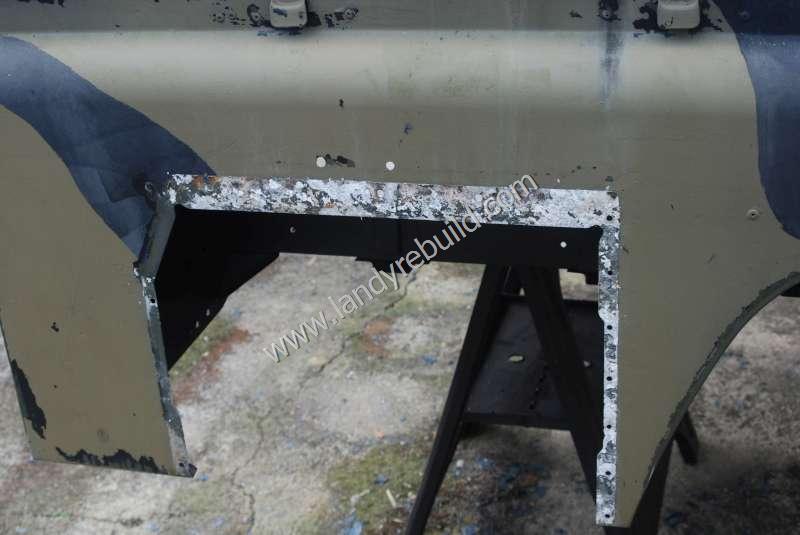
One of the flanges on a rear quarter panel was torn underneath (where one of the supporting stays fixing the panel to the main body of the tub is attached), so I reinforced the tear with a strip of thick aluminium fixed in place with a couple of aluminium rivets.
The underside was then sprayed with a couple of coats of Hammerite StoneChip paint which should help to protect it.
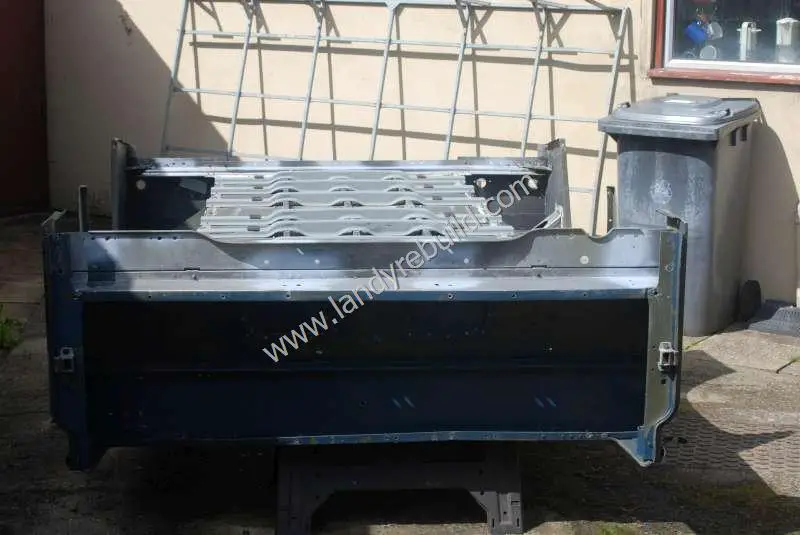
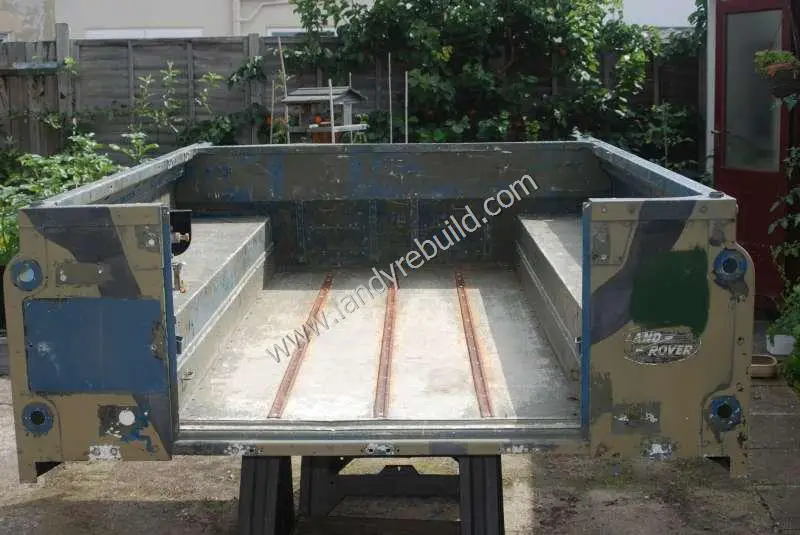
The rear body was then turned the right way up, again being supported on trestles, ready for the external surfaces to be renovated as described on the paint stripping page.
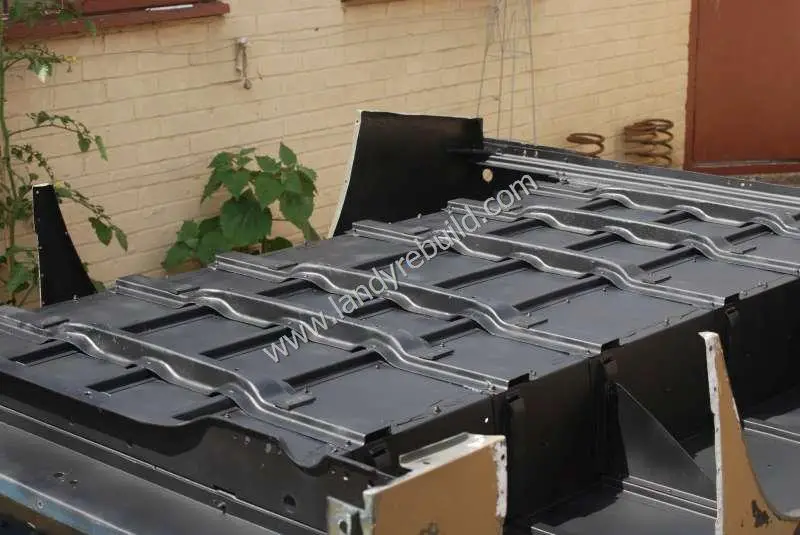
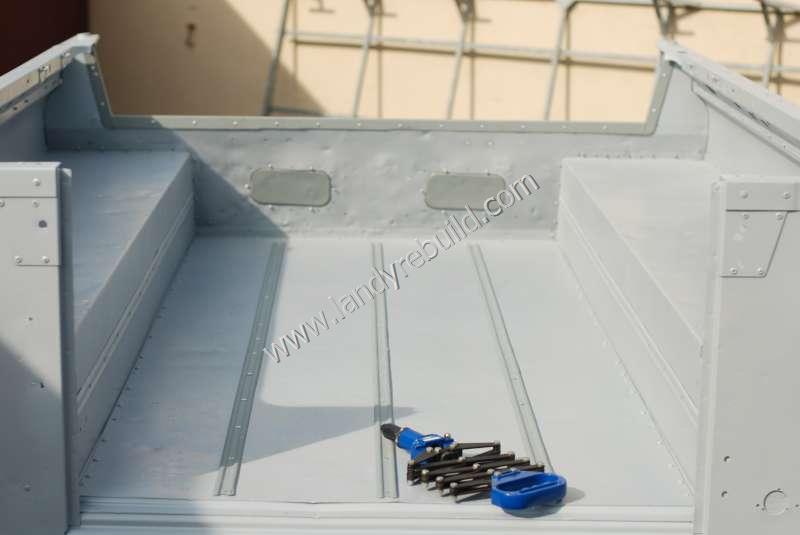
The steel floor braces shown below were removed by simply drilling out the many rivets holding them in place. These were then cleaned up, and given a coat of zinc primer before being reinstalled.
More galvanic corrosion was evident where the rear crossmember brackets bolt to the rear tub, although it wasn't too bad here. The worst affected areas were those covered by the steel frames of the side-lockers.
The white powdery aluminium oxide was removed with a wire brush, then painted with etch primer. I then used some body filler to ensure the surface was once again smooth. These frames are another candidate for the single-sided foam tape which will act as insulation between the aluminium and the steel frame.
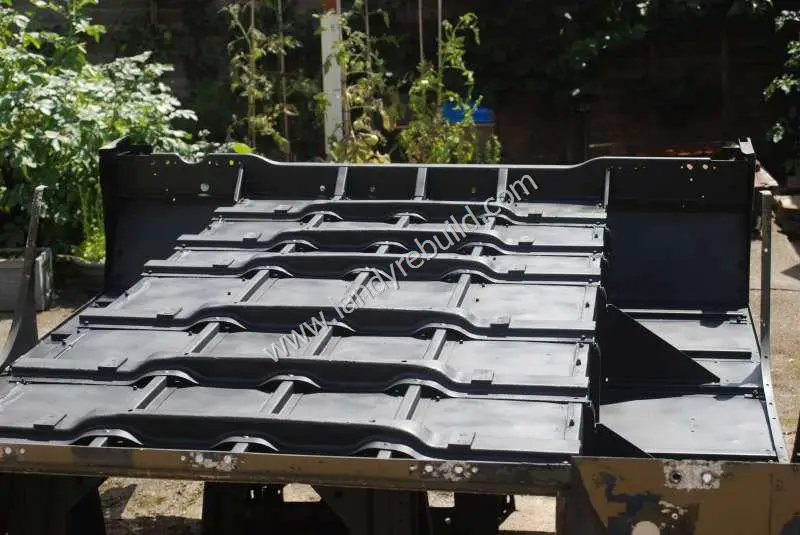
Finally, with the bulkhead behind the seats modified by a bulkhead removal bar, the rear tub was sprayed with etch primer as described on the HVLP page. The painted steel floor braces were then reinstalled. I can recommend the rivet gun shown in the photo - especially if you have lots of rivets to install!
Comments
Have your say about what you just read! Leave a comment in the box below.
(Your email will not be displayed)
NOTE: All comments are moderated, so will not appear immediately.