With the front axle itself cleaned and painted, it was time to start reassembly. The old oil which came out of the front diff was not badly discoloured or full of metal filings, so the front diff itself did not need any further attention.
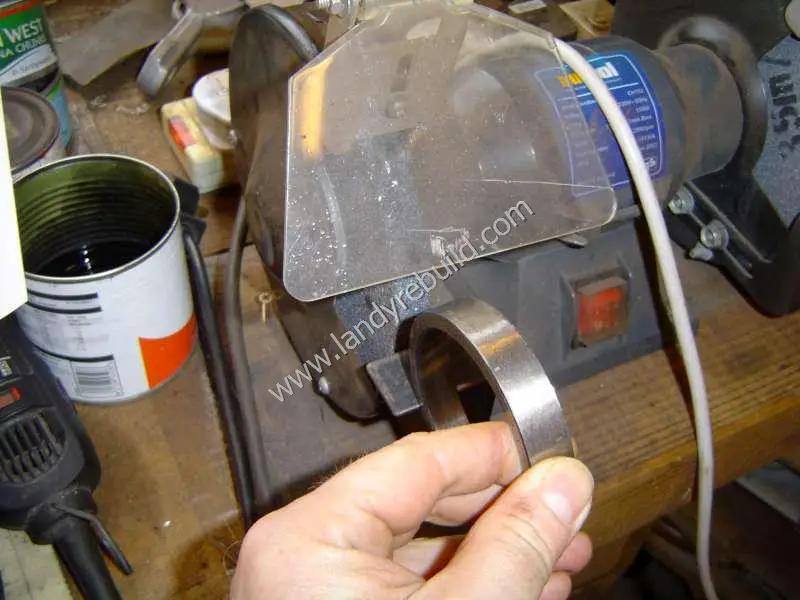
The first job was the installation of new wheel bearings. I ground down the outer edge of one of the old bearing races using my bench grinder:
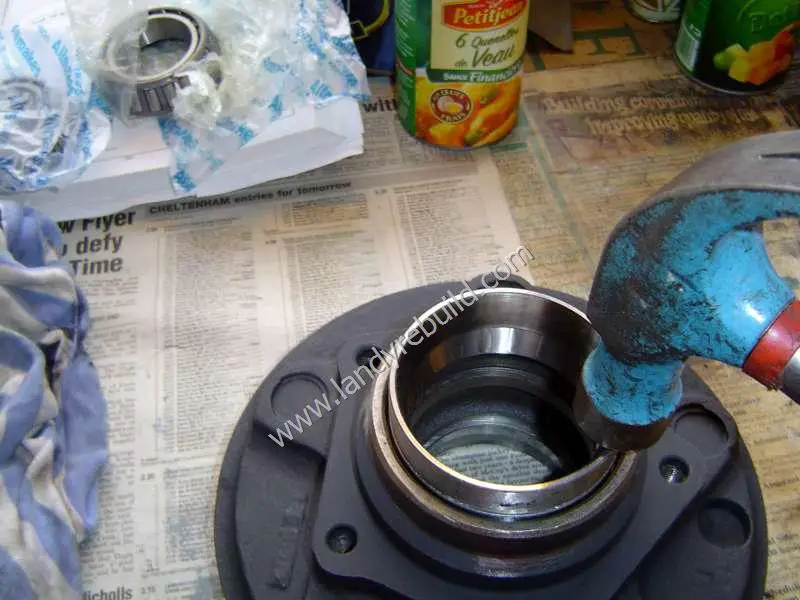
The new bearing race could then be tapped gently into place, using the home-made drift to ensure proper seating in the housing.
With the bearings installed, the front axle was lowered from the steel frame onto a slightly lower wooden one, as it was no longer necessary for the axle to be able to rotate. Also, the steel frame was too high to be able to fit under the vehicle when the axle was ready for reinstallation.
The end surface of the axle was cleaned up with some fine sandpaper, and some gasket sealer was applied:
According to the workshop manual, "Apply sealer to both sides of a gasket and position it on the joint face. Attach the swivel pin housing to the axle, evenly tightening the bolts." There then follows an exploded diagram.
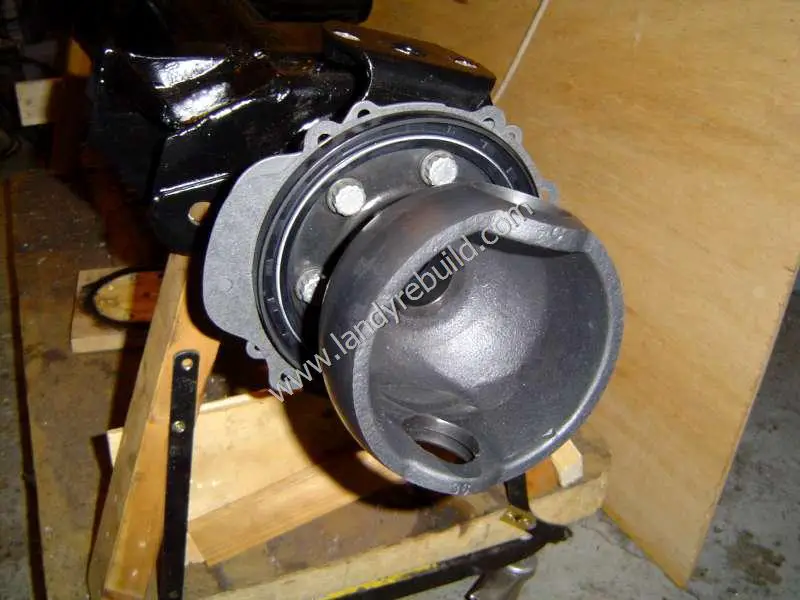
So I duly applied the sealer and attached the swivel pin housing to the axle, evenly tightening the bolts.
Right, what's next?
The next section starts off: "Remember to hang the swivel pin housing oil seal, gasket and retainer plate over the back of the housing before attaching it to the axle."
Aaargh! Off with the swivel housing again.
More gasket sealer was then applied after cleaning off the remains of the previous coat. So, here's my version of the instructions on what to do next:
- With one hand, hold the swivel pin housing oil seal, gasket and retainer plate next to the swivel pin housing.
- With your other hand, offer the swivel pin housing to the axle.
- With your third hand, insert the bolts.
What? You don't have three hands? And you want to work on a Landrover?
Now, the manual says these bolts need to be tightened to between 65 - 80 Nm. The only problem is that you can't fit a socket into the gap between the axle and swivel housing. Never mind, tighten the bolts with a spanner held in a length of steel tubing until the spanner starts to bend. That should be tight enough (yes I am joking).
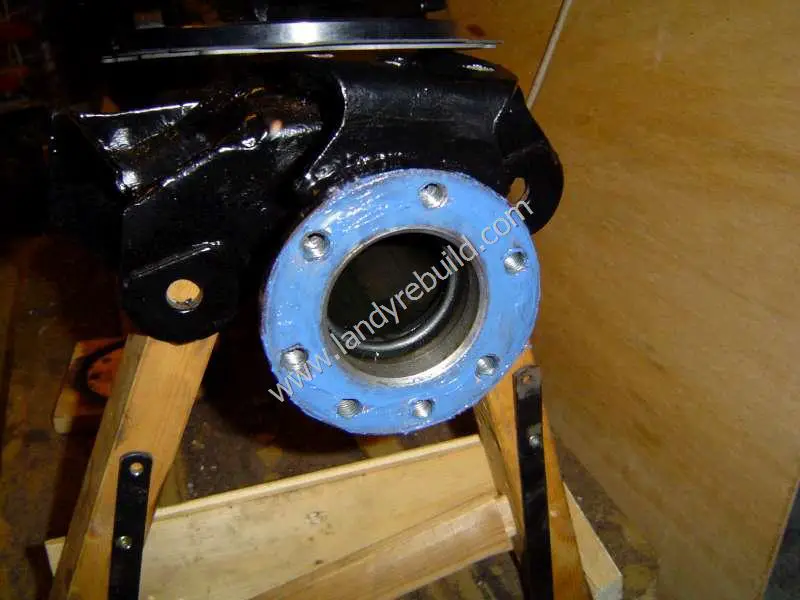
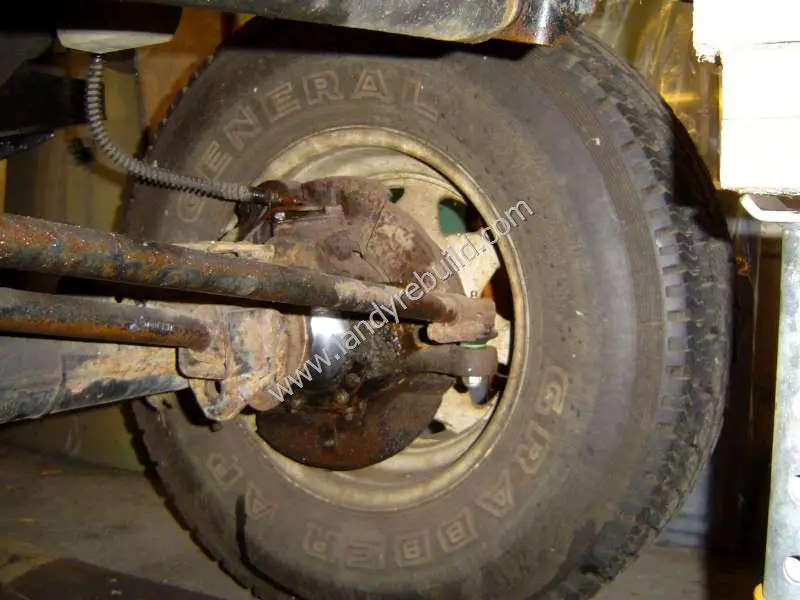
I had tried to obtain new chrome-plated swivel housings but these could not be found anywhere. I considered having the old ones re-chromed but in the end went for ordinary teflon-coated ones. Only time will tell if they last as long as the old ones! The first photo below shows what the old leaky swivel housing looked like.
It was now time to move on to the swivel balancing.
Comments
Have your say about what you just read! Leave a comment in the box below.
(Your email will not be displayed)
NOTE: All comments are moderated, so will not appear immediately.