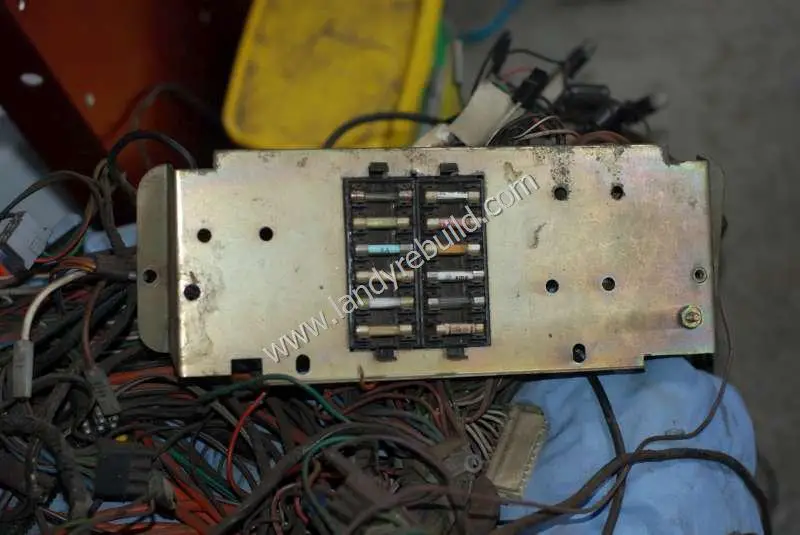
The original fuses fitted to the Land Rover were of the glass tube type. These measure approximately 30mm long by 6mm diameter. The previous owner had disregarded the recommended fuse ratings as printed on the cover of the fuse box; I found that several fuses were of the 35-Amp variety, and even some ordinary 13A household fuses (as normally found in an electric plug) had been used. No wonder there had been a wiring problem in the past!
Initially I was going to just ensure that the correct fuses were installed, but as the entire wiring loom had been removed from the vehicle anyway I decided to change the two fuse boxes so that they could accept the more commonly-used automotive blade fuses.
The first step was to make a note of the colours of each of the wires at the rear of the fuse box. In the photo below you can see some of the incorrect fuses.
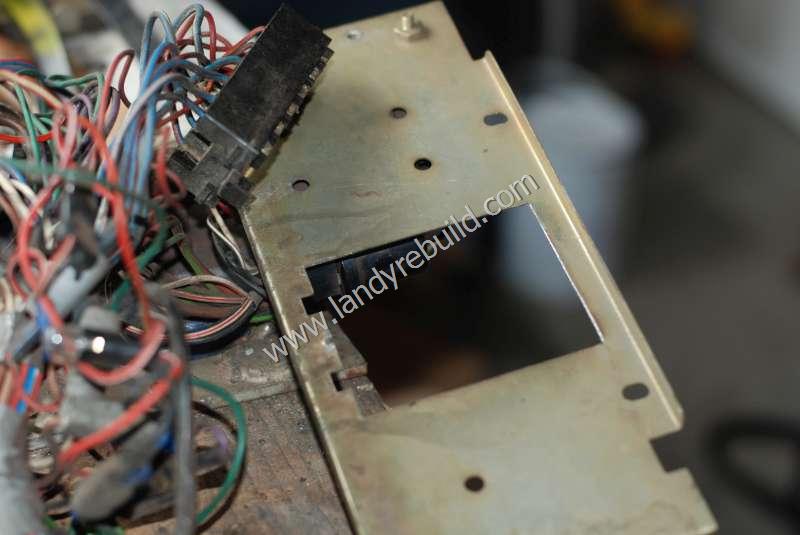
The fuse holders were then removed from the backing plate:
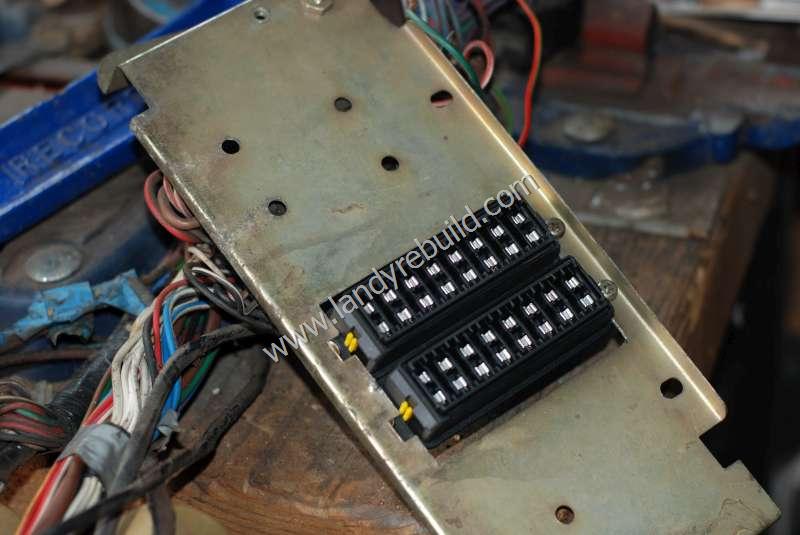
Two new blade fuse holders had been obtained. These fitted quite nicely, and each takes 8 blade fuses as opposed to the 6 glass fuses in the old holders. So even though additional electrical circuits have been fitted (one for the front spotlights, one for the rear worklight, and one for the Kenlowe fans), I still have two blade fuses spare.
The wiring for the old fuse boxes was then cut off as close to the fuse box as possible, and new female blade terminal connectors were soldered on. You need to use the type with a latch if possible, so that the wires are not easily disconnected from the back of the fuse box.
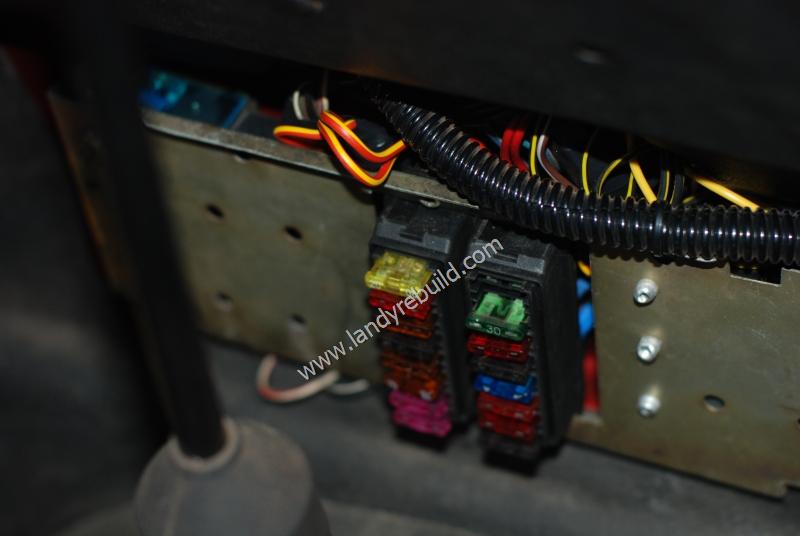
Here's the fuse box reassembled, back in position on the bulkhead, and showing the new blade fuses. (Labels indicating which fuse is which were printed and stuck to the inside of the fuse box cover). The three rivet heads you can see on the right of the fuses are holding the three relays for the additional circuits mentioned above.
Comments
Have your say about what you just read! Leave a comment in the box below.
(Your email will not be displayed)
NOTE: All comments are moderated, so will not appear immediately.