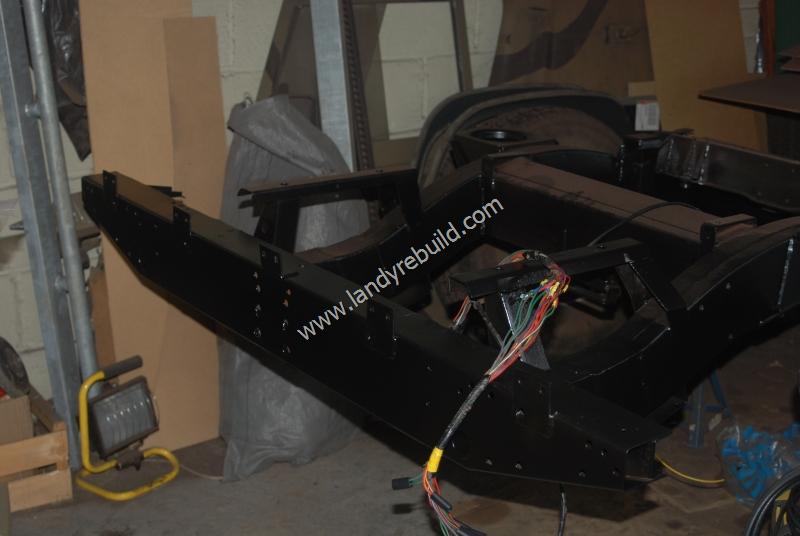
In general, the chassis was fairly solid, with the exception of the rear crossmember and outriggers (these are available as spare parts). With the body and bulkhead removed, it was time to start renovating the chassis.
Put simply, the chassis renovation process was carried out as follows:
- Remove dirt, oil and rust by using a wire brush on an angle grinder
- Replace rotten outriggers
- Replace rear crossmember
- Seal any mud traps
- Paint with zinc-rich primer
- Finally, two coats of black Hammerite paint.
The chassis was tackled in sections, starting at the front. The front bumper turned out to be galvanised, so this was etch-primed before being painted black.
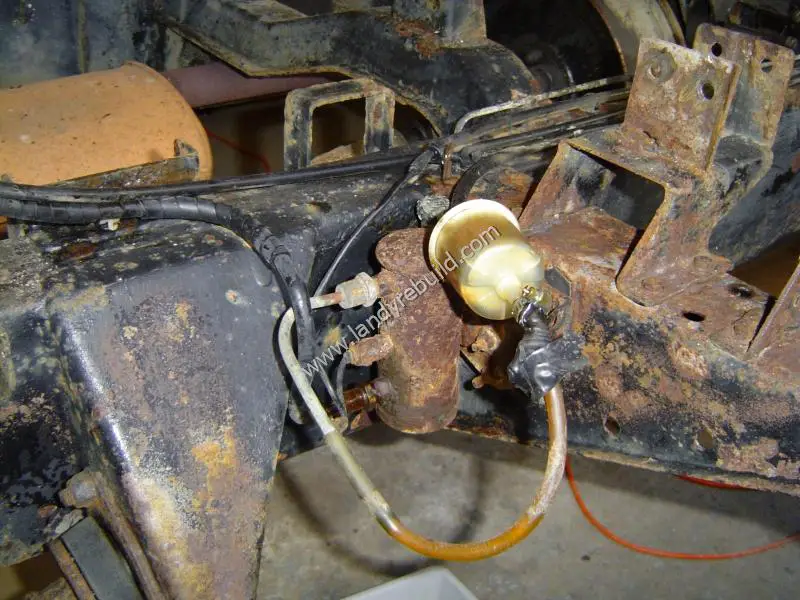
The lump of rust in the next photo is the petrol pump. (Note the leak sealed with electrical tape!) When the pump was removed, it was very sludgy inside, so a new electric fuel pump will be installed.
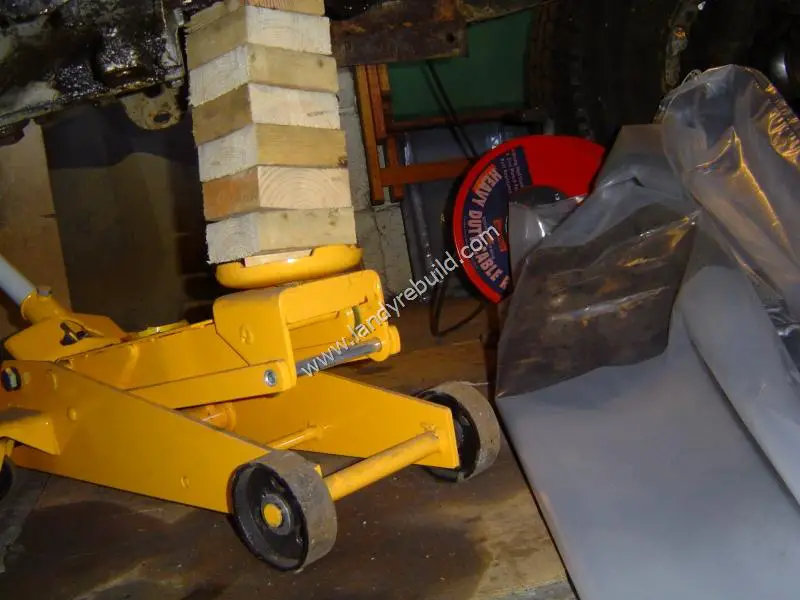
In order to remove the gearbox crossmember, the chassis needs to be spread apart slightly. This was done by using a scissor jack and a couple of blocks of wood. It's no use trying an ordinary hydraulic jack for this - if the jack is on its side it doesn't work. If you don't have a scissor jack, a Hi-lift jack would probably work - however I decided against this as I felt that the amount of "spread" for each movement of the handle would have spread the chassis too far apart.
Half a bucketful of rust flakes and sand came out of the gearbox crossmember when it was removed.
In order to replace the worn gearbox mounts (and also to clean and paint the chassis in this area), the gearbox was supported on a trolley jack:
and then the bolts holding the gearbox mounts were removed. The gearbox was then lowered so the mounts could be removed:
The rope is only a precaution; the gearbox is still resting on the jack and there is also an axle stand underneath just in case!
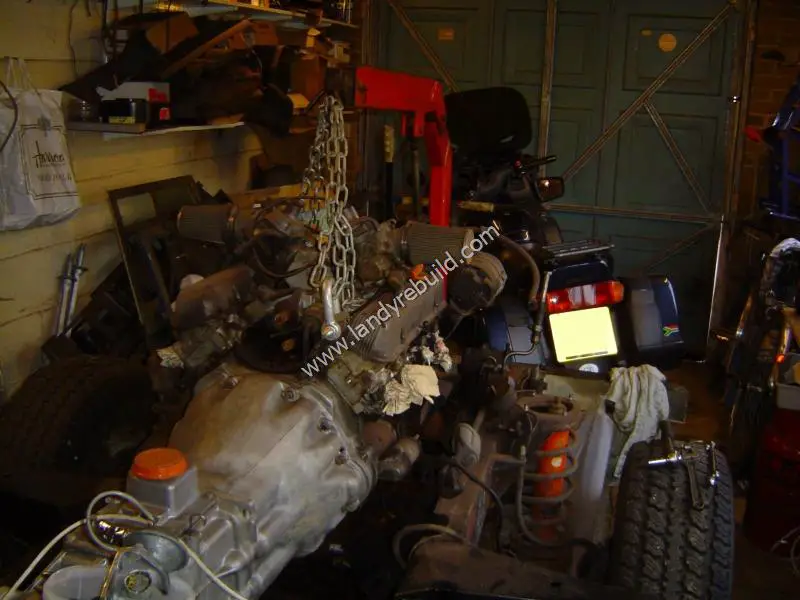
All the old gunk and mud was then washed off the exterior of the gearbox. It's an LT95 4-speed which is reputedly extremely reliable.
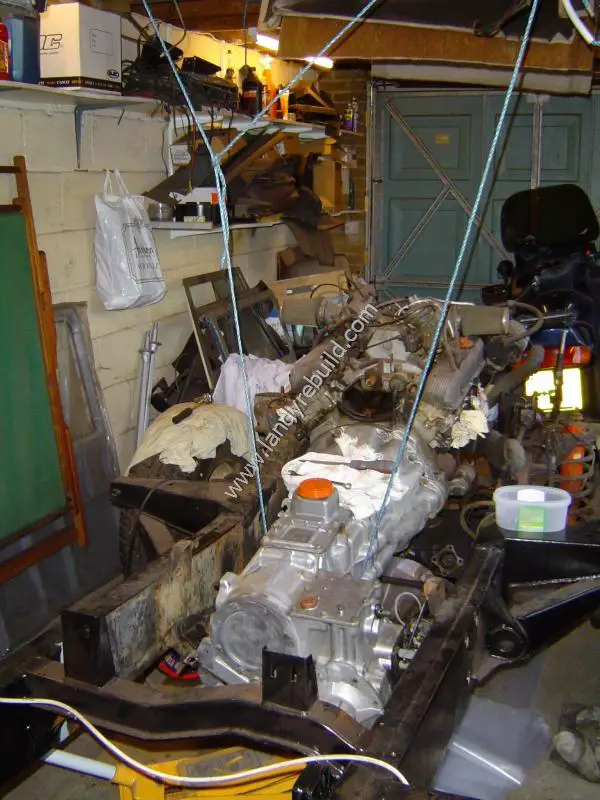
With the gearbox cleaned up, I borrowed an engine crane from a neighbour. The engine was supported with the crane which then enabled the removal of the engine mounts. The chassis rails could then be sanded, primed and painted. The engine mounting brackets themselves were painted with Hammerite high heat paint. Finally the engine was lowered back into position on new mounts.
By working in stages I finally finished the chassis renovation by painting the new rear crossmember: