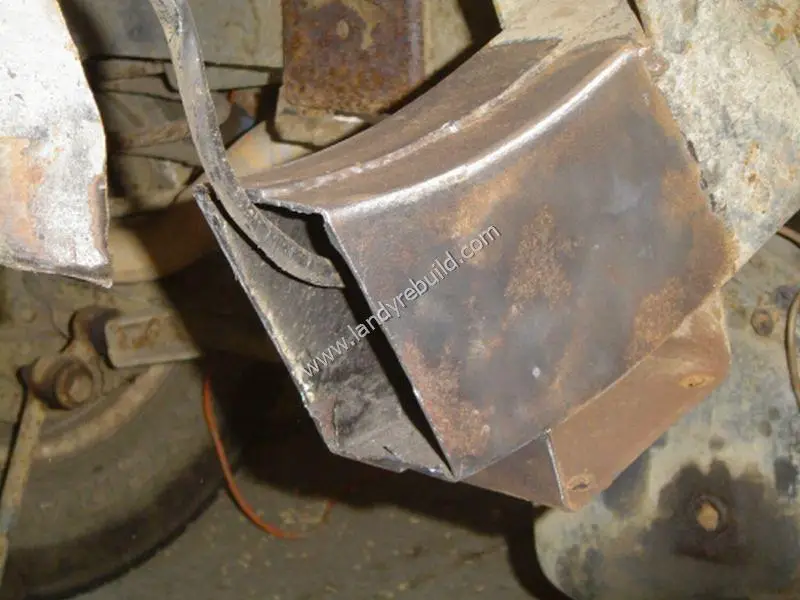
Once the rear body had been removed, it was evident that the rear crossmember needed replacement. Here is a view of the inside of the rear crossmember, driver's side:
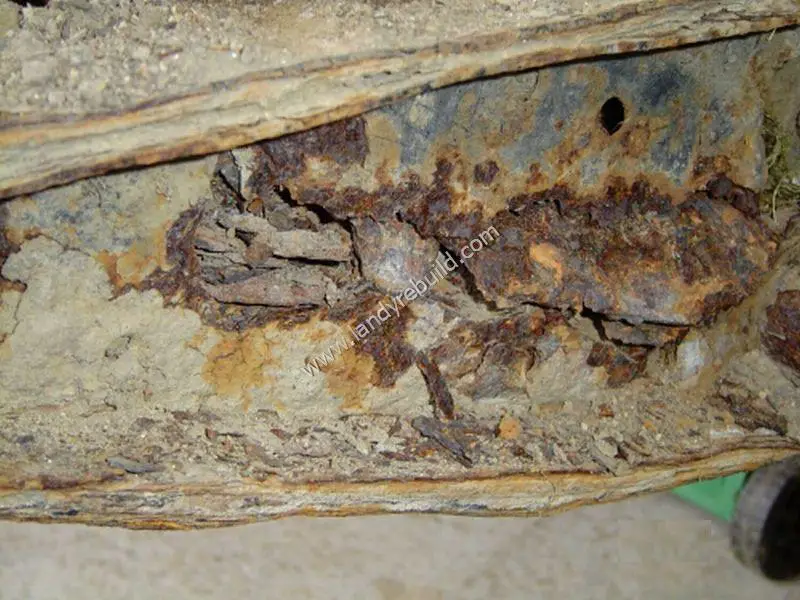
Structural stuff!
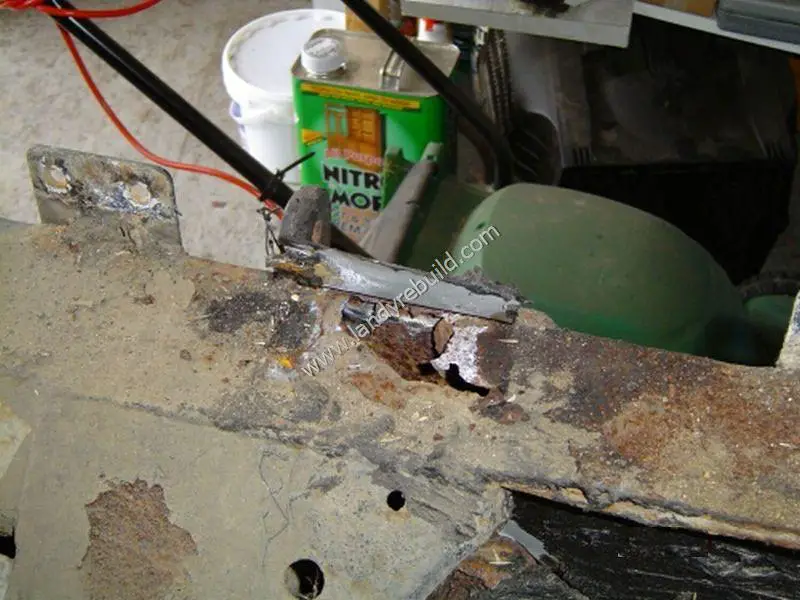
On the passenger side, a piece of galvanised steel had been folded over a hole, and held in place with loads of bitumen! Also note the bitumen coating at the bottom right of the photo:
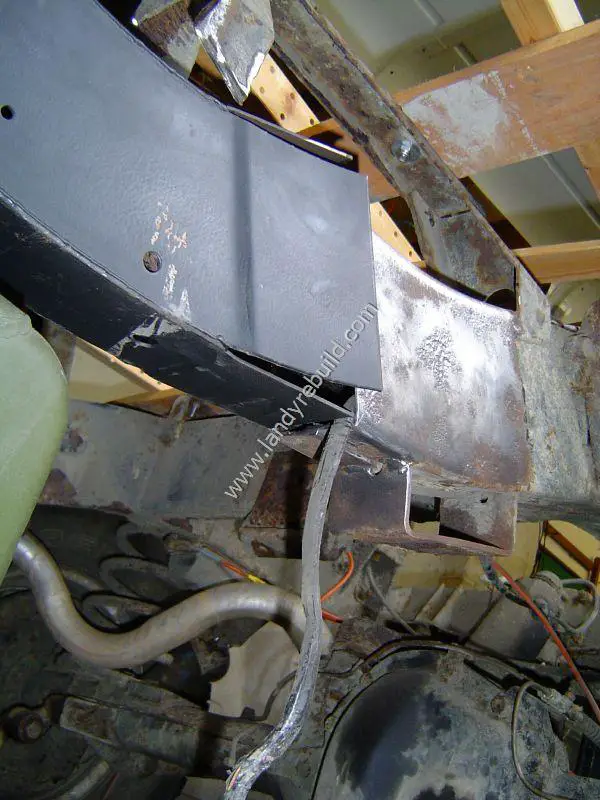
Because the rear tub was completely removed, access for the repair was good. Unfortunately this also meant that there were no reference points for the installation of the new rear crossmember.
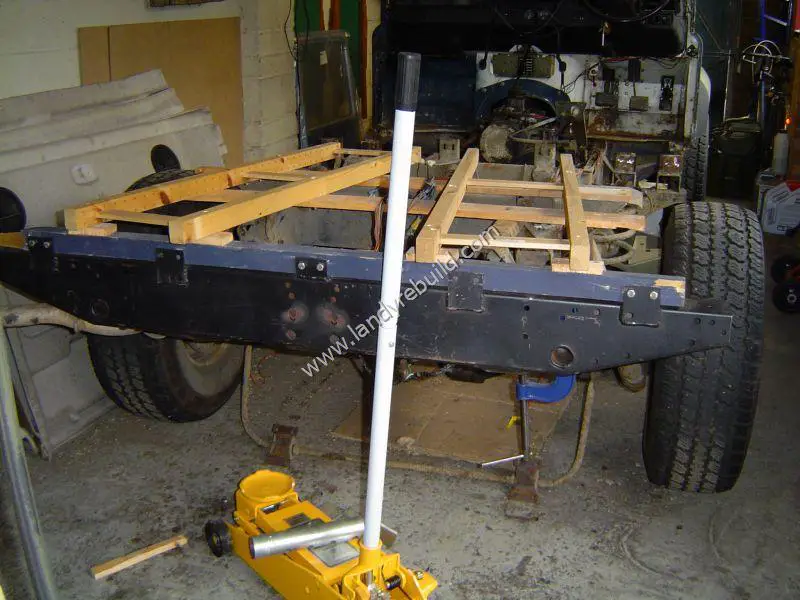
I therefore made up a jig using some bits of wood, and bolted these into place:
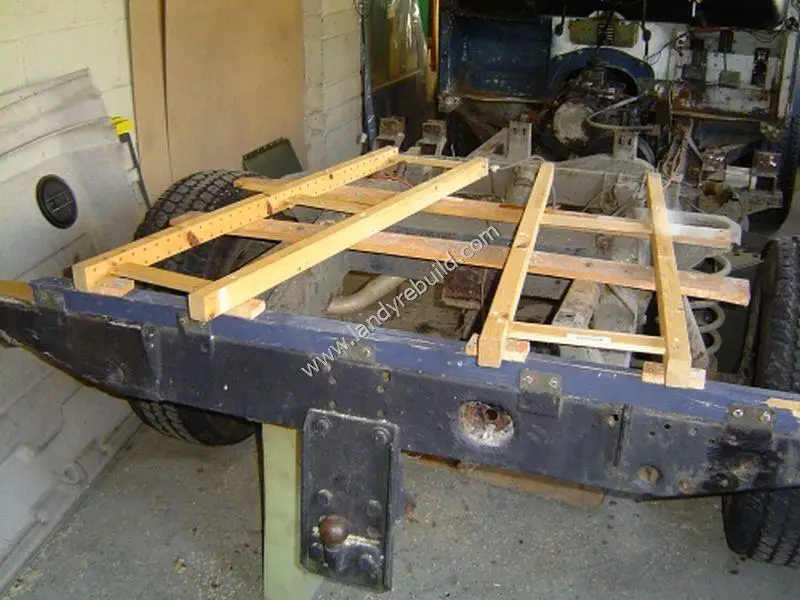
Now, when the old crossmember is removed, it should be possible to fit the new one in the correct position.
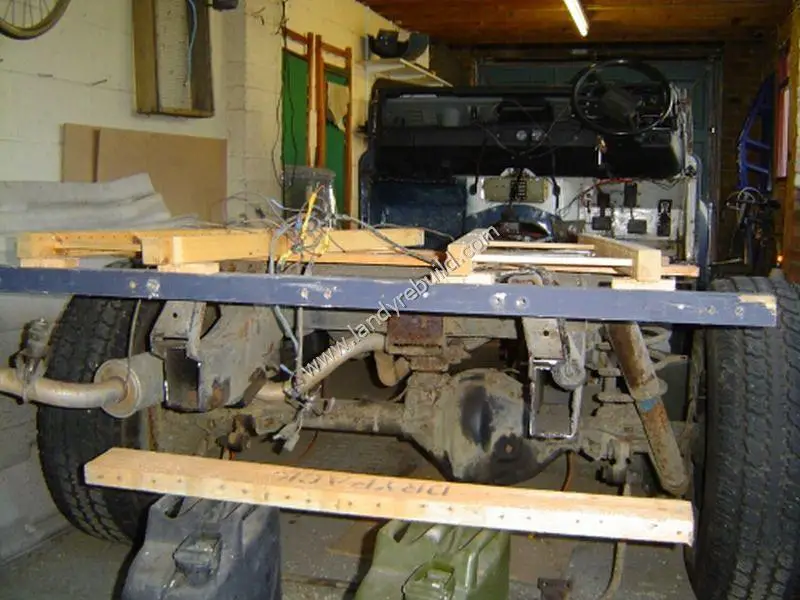
The old crossmember was then cut off with an angle grinder. I had to be careful on the right chassis leg because the wiring loom runs inside this.
The chassis ends were then trimmed and the rust removed with the aid of a wire brush on an angle grinder. This is to ensure a good weld.
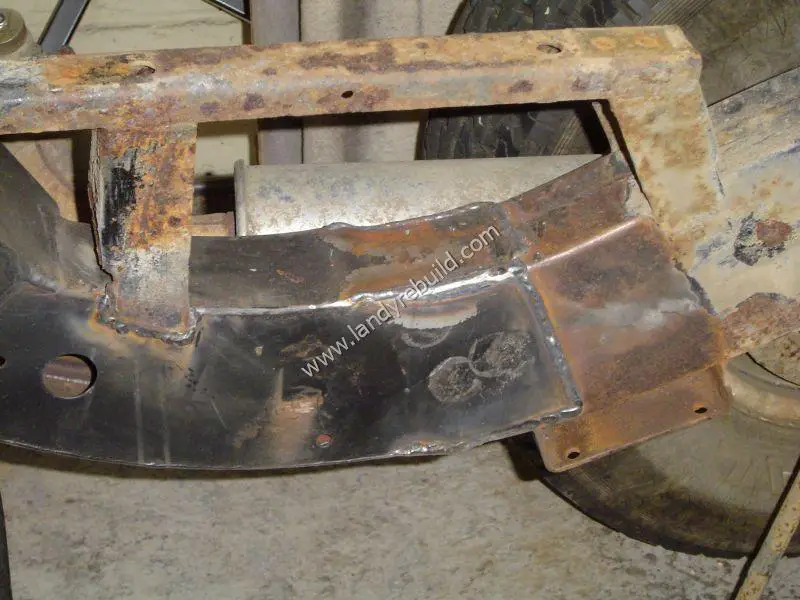
A trial fit of the new rear crossmember revealed that the underside flange would foul on the anti-roll bar mount, so this needed to be trimmed back to ensure a good fit.
I decided to replace the rusty ordinary tow-hitch with a Nato pintle. I found this type of tow-hitch extremely useful - I had one fitted to my old Series 3. However, you can't just bolt it on; it needs proper bracing (otherwise if you try and recover another vehicle with it you'll find it just parts company with your rear crossmember!)
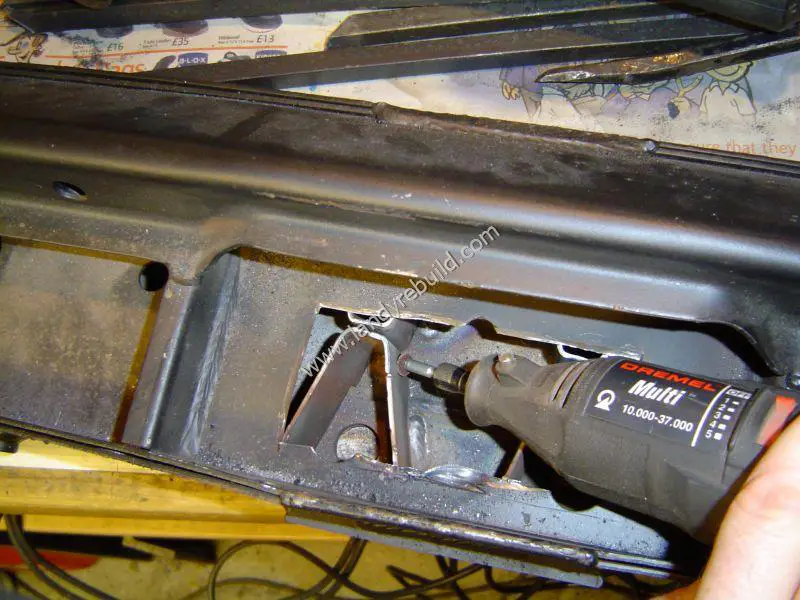
So part of the new crossmember would need to be removed, two holes would need to be re-drilled and strengthened, and a bracing plate would need to be installed. This is the new crossmember with a section cut out from the rear. I am just about to remove the existing bracing - this was a pig of a job. Thank goodness for the invention of the Dremel - although I went through quite a few mini cutting discs!
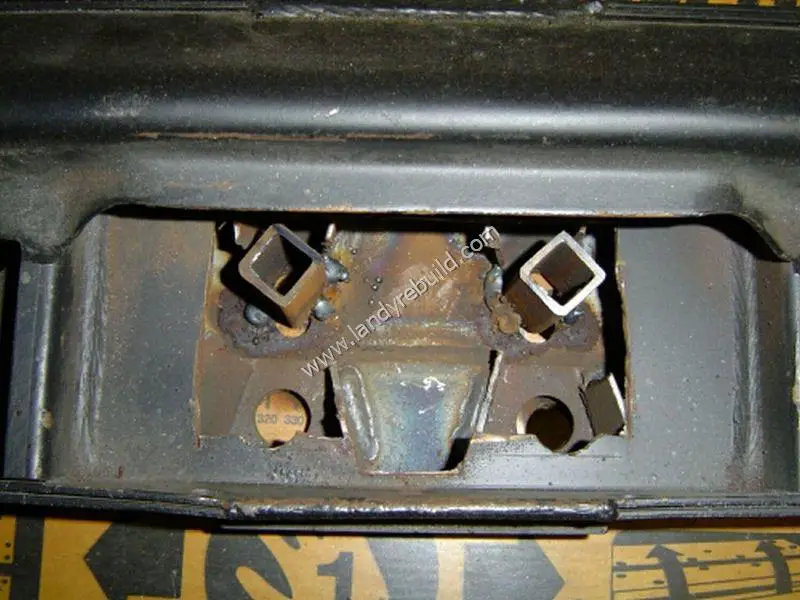
Halfway there... here is the crossmember with the new holes drilled and two of them reinforced internally with some square tubing:
I drilled some holes in a piece of scrap steel, then test-fitted the Nato pintle. The steel backing plate is now ready to be welded into position.
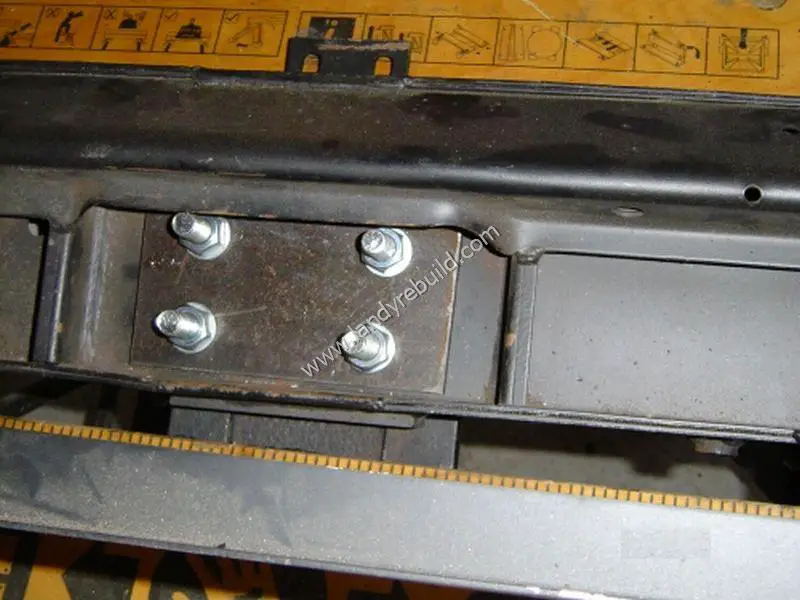
Having completed the reinforcing, the modified crossmember was then fitted in place, ready for welding to the chassis. As is fairly common with Land Rovers, not all the bolt holes lined up; only the central one and the two external ones - but that's good enough!
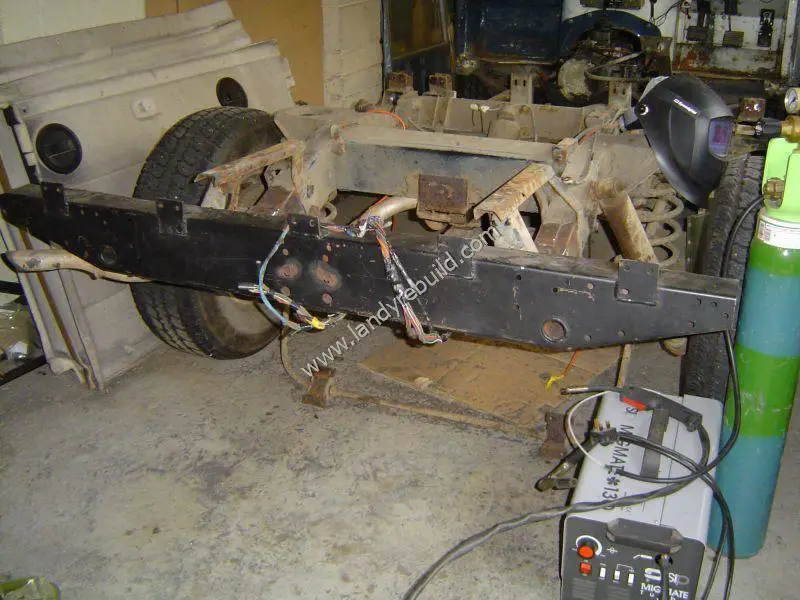
Here's the finished article. Note that I don't have specialised welding equipment; I have a small 130A mig welder - and before tackling this project I had never done any mig welding at all! So if I can do it, so can you! One thing I would mention though - those teeny little gas bottles you get with the welding machine - throw them away. They only last a couple of minutes and it works out to be very expensive. You're better off hiring a larger size cylinder from somewhere like BOC - this works out cheaper in the long run. The one I have contains an Argon/CO2 mixture called Argoshield.
And finally, a closeup of the welded chassis leg.
Now the real fun starts - removing the rust and old paint from the rest of the chassis. In hindsight I think I would have been better off by buying a replacement galvanised chassis and just transferring everything over!
Comments
Have your say about what you just read! Leave a comment in the box below.
(Your email will not be displayed)
NOTE: All comments are moderated, so will not appear immediately.