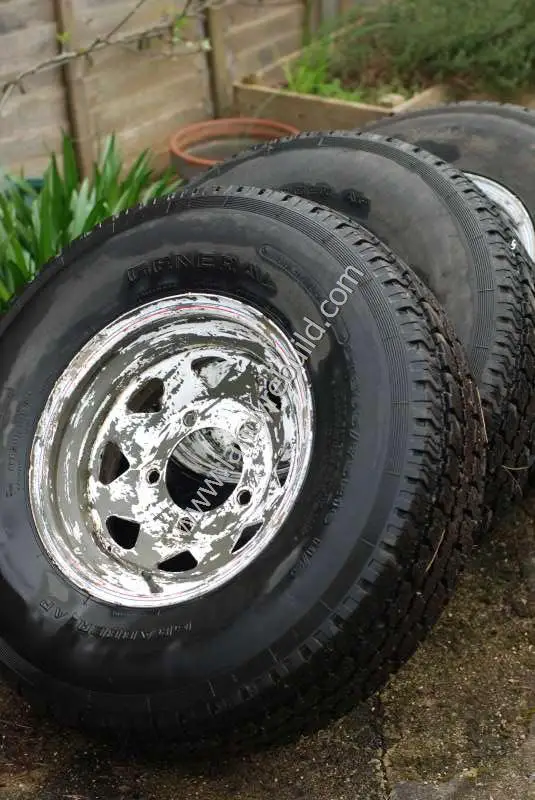
The 110 was fitted with 8-spoke steel wheels when I got it. All well and good, but these had been brush-painted Nato green, and somewhat inexpertly at that. Still, at least the thick layer of paint was providing some protection against rust!
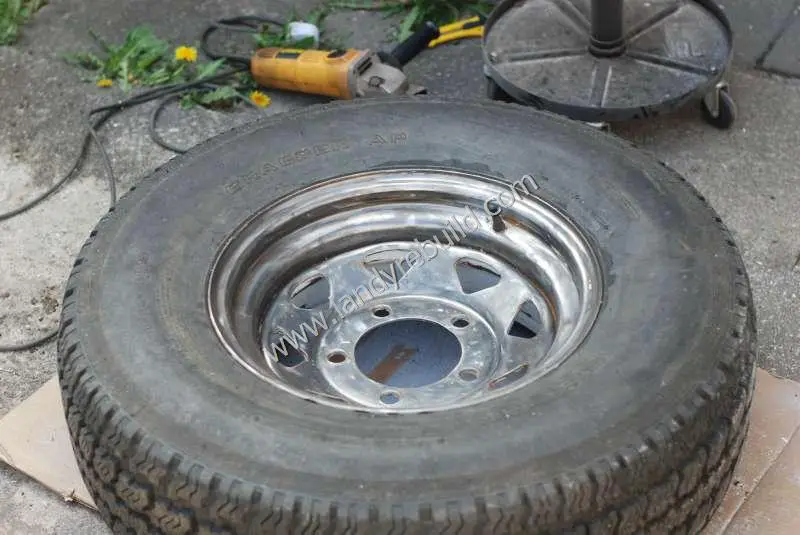
Before starting the renovation, I checked if there was some alternative. I'd renovated the steel wheels on my Series III 109 previously, and it was a fiddly job. What about using Range Rover Alloy wheels? Well, although they would fit, it's not advisable to use these. They're not rated for the weight of a fully-loaded 110. So unfortunately there was no option but to renovate the steel wheels which I had. I removed one tubeless tyre from the rim so I could see whether any rust was present inside. This had been the case with my previous Land Rover (although the Series 3 had tubed tyres, not tubeless). I was pleased to find that the inside was rust-free, so decided to strip the old paint from the rims and repaint them without removing the tyres. Firstly I removed the wheel balancing weights from the rim. These will not be reused, but will come in handy as a source of lead for casting fishing weights! I then carefully applied a thin coat of paint remover to the wheel, being careful not to get it on the rubber. After leaving it to work for a few minutes I washed it off:
With a further application of the paint remover I was left with bare metal. There were only a couple of patches of rust; these were sanded down as much as possible before the primer was applied. I used some masking tape around the rim in order to avoid getting any paint on the tyre.
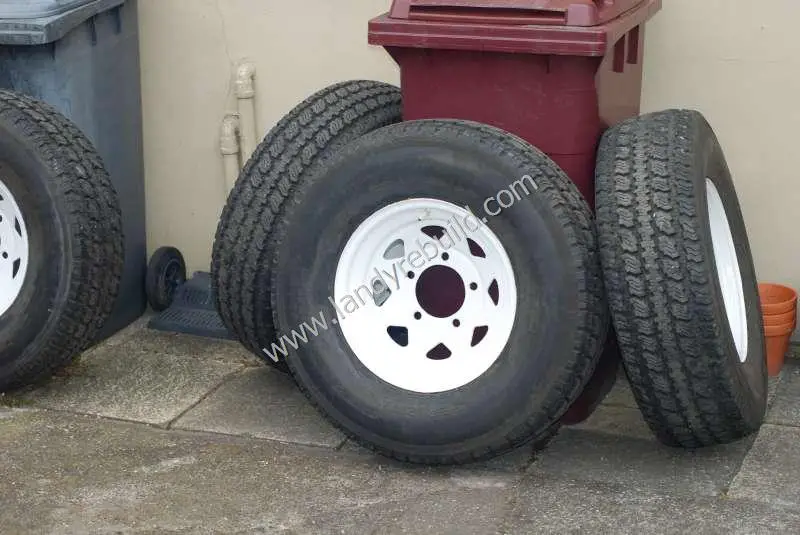
The wheels were then given a couple of coats of white Hammerite paint.
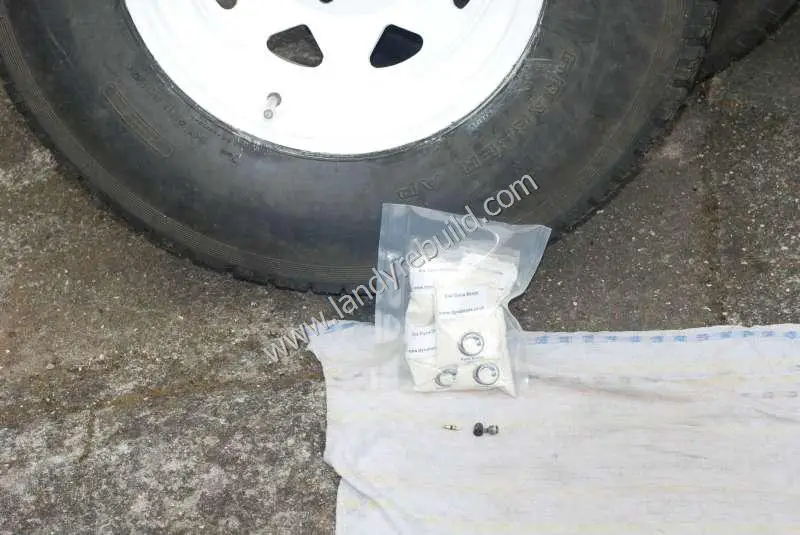
Now it was time for the wheel balancing. This was done by the simple expedient of using Dynabeads. These are small ceramic beads which are inserted into the tyre. When the tyre rotates, centrifugal force causes them to move outwards. As the tyre rolls along, the beads distribute themselves evenly around the tyre, thus balancing it.
Even if the tyres get muddy, the Dynabeads compensate for this. I simply removed the valve core, attached a short length of plastic tubing to the valve, and poured them slowly down the tube with the aid of a small funnel (this was, I admit, a bit fiddly - especially as the plastic tube was becoming statically charged). I then reinstalled the core and pumped the tyre up. Each tyre took a 6oz packet of beads.
So, do they work? Well, I have to say they do. I've found the ride to be quite smooth. One can normally tell fairly quickly if a wheel is out of balance, and I certainly haven't felt any vibrations. There again, these tyres are 265/75 R16, so they're not exactly small. But overall I'm pleased enough with the results - and even bought an extra batch which will be installed on my ST1100 when I next fit new tyres. (The tyres are currently plugged due to experiencing a puncture; Dynabeads can't be used in a plugged tyre).
Comments
Have your say about what you just read! Leave a comment in the box below.
(Your email will not be displayed)
NOTE: All comments are moderated, so will not appear immediately.