With the seatbase removed, it was an easy job to remove the transmission brake and centre diff lock assembly, due to the improved access. Otherwise, of course, the removal has to be done from underneath.
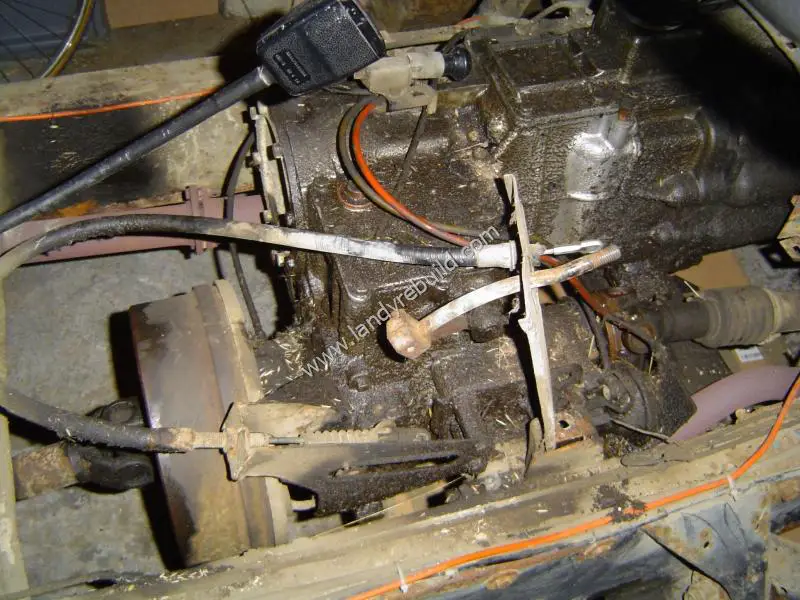
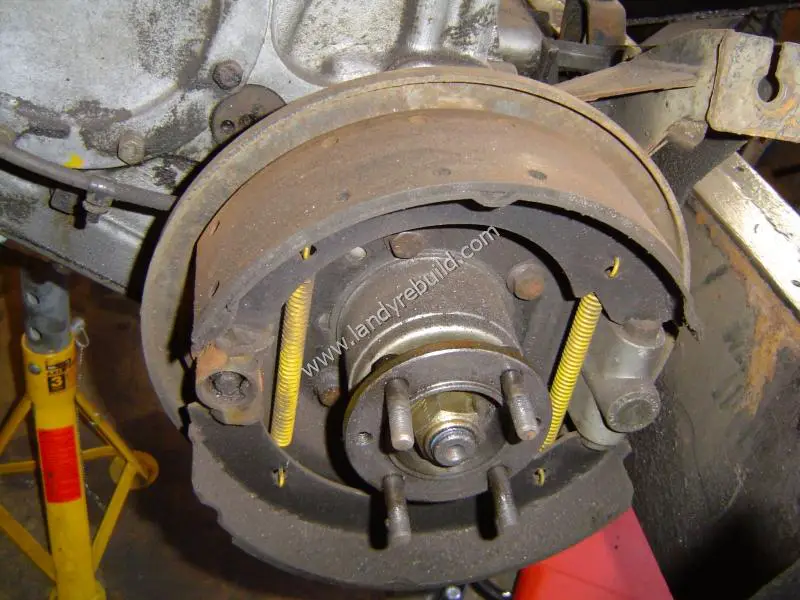
The prop shafts were removed and put to one side for inspection and painting. Removal of the transmission brake drum revealed that the brake shoes were in fairly good condition. The next photo shows the correct orientation of the brake shoes and springs.
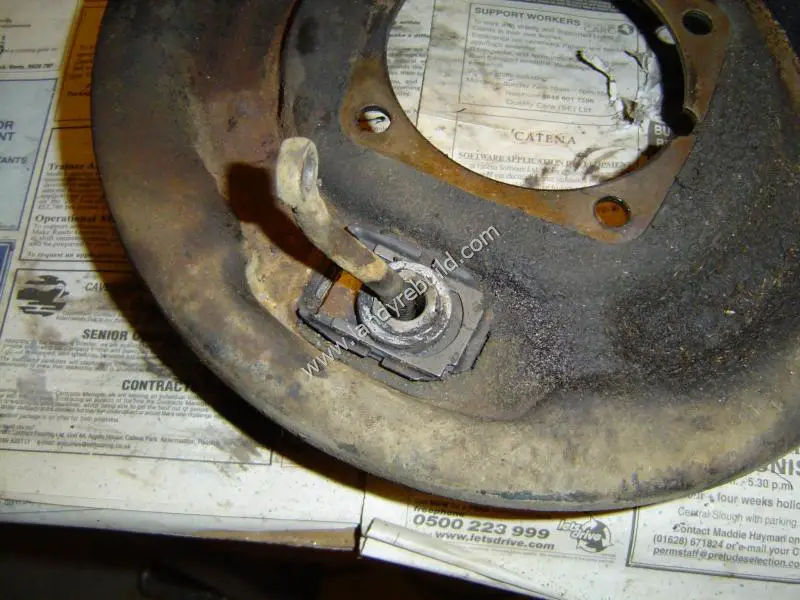
In order to remove the entire drum, the split pin and clevis pin connecting the drawlink to the actuating lever need to be removed, then the four bolts holding the backplate to the gearbox. The drawlink is the thing sticking out of the back of the backplate shown below:
Renewal of the oil seal requires some preparation. The centre nut needs to come off, and as this is torqued to between 146 and 179 Nm-1 it requires some force. If the front propshaft is still connected, simply put the vehicle in gear and chock the front wheels. In my case however, the front propshaft had been removed, so the only option was to use a tool I'd made some time ago for the rear Salisbury axle nut. In essence it's a length of steel bar with a welded crosspiece, in which holes are drilled. These holes fit over three of the propshaft bolts, enabling the centre nut to be removed (or, indeed, tightened).
Comments
Have your say about what you just read! Leave a comment in the box below.
(Your email will not be displayed)
NOTE: All comments are moderated, so will not appear immediately.