One of the issues regarding a Land Rover is what to do with the spare wheel. It can be mounted on the bonnet of course, but even though I'm fairly tall I didn't particularly want to do this. The other issues with a bonnet-mounted spare wheel are the added weight when opening the bonnet, and actually getting the wheel off there when you need to change a tyre!
In a 110 Hard Top one can mount the wheel against the interior bulkhead behind the front seats. However, this location wasn't any good because I'd installed a bulkhead removal bar to allow the front seats additional space to recline.
Another location is on the outside of the hard top, as done in the military Wolf 110's. However this would require the addition of an extended mirror arm.
Internally, the spare wheel could be mounted upright in a recess in one of the box-like structures at the sides of the rear tub. However, as I have a side locker on each side of the rear tub, this was not an option either.
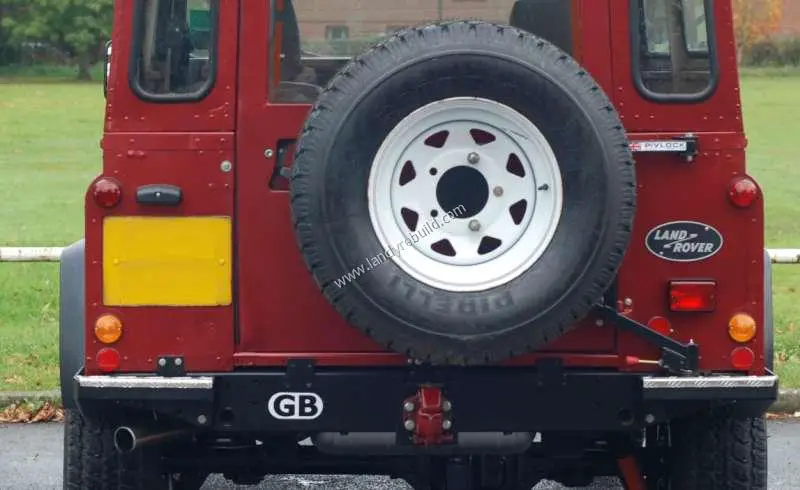
The only solution was to mount it on the rear door. However, this location is not without its problems either. The three door hinges are not really designed to support the weight of a great big Land Rover wheel and tyre! So an enterprising company built a frame which they called "Pivlock".
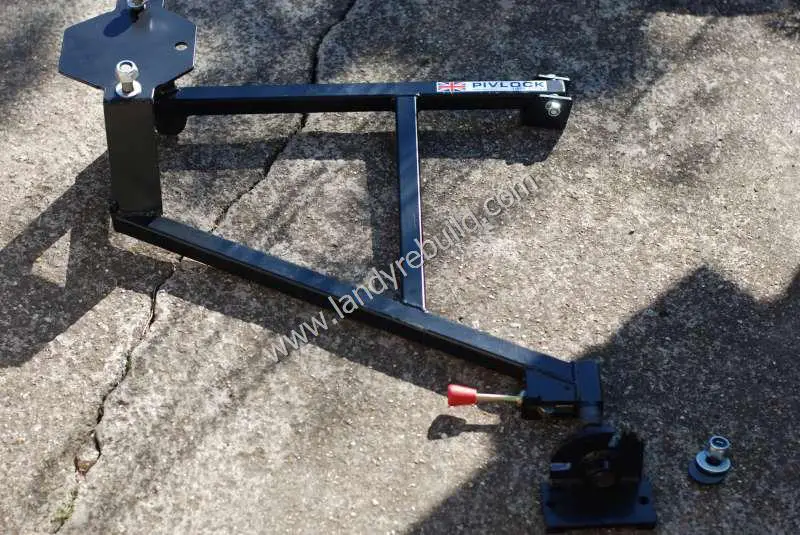
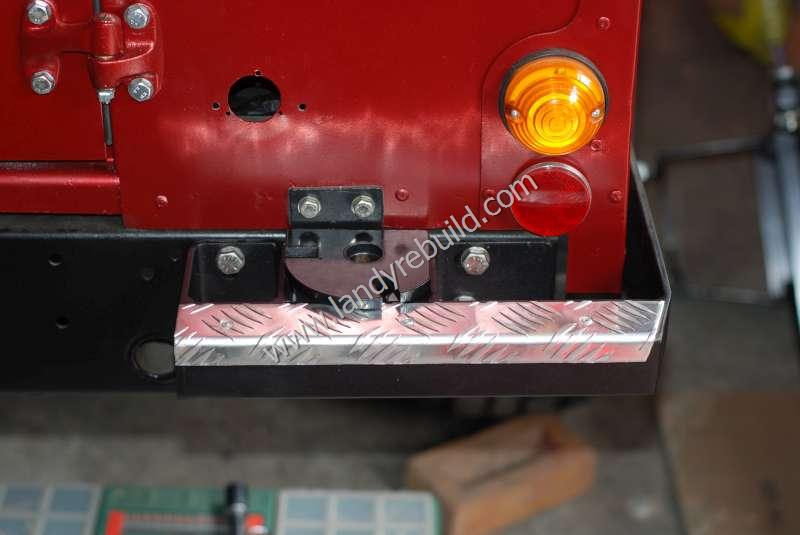
This provides a sturdy mounting for the rear wheel, with all the weight transmitted to the rear crossmember. But as had become synonymous with this rebuild, even installing the Pivlock was not without issues. Because I had fitted rear corner protectors, these got in the way of the bottom bracket of the Pivlock. I removed this bottom bracket so that I could figure out a way of mounting it to the rear crossmember:
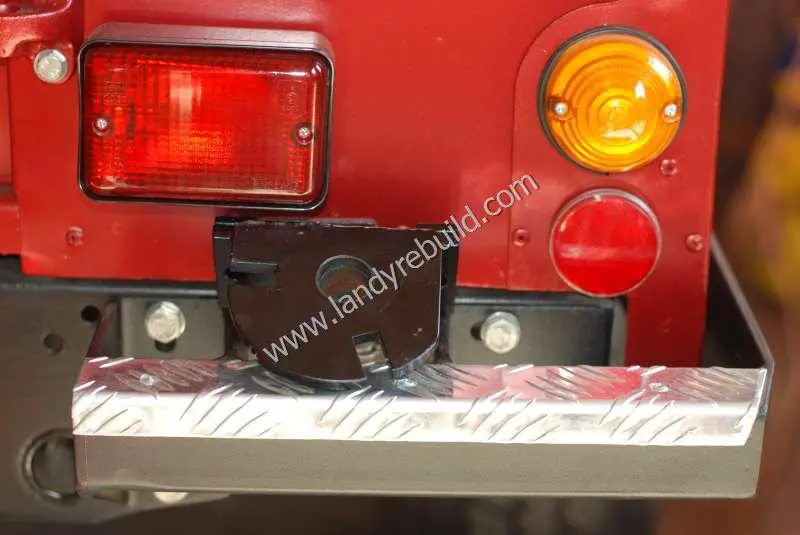
I figured out that by grinding about 5mm off each edge of the bottom bracket, it would fit nicely between the upright struts of the rear corner protector, and could be mounted to the rear crossmember with two through bolts. This procedure was carried out, and the cut edges were repainted before the bottom bracket was fixed in place. The pin which attaches the bottom bracket to the Pivlock frame fits nicely in the space between the rear corner protector struts.
The upper bracket of the Pivlock is simply fixed to the reinforced upper edge of the rear tub by drilling two holes. However, I then discovered that the location of the rear fog light had become an issue, as the angled frame of the Pivlock interfered with it.
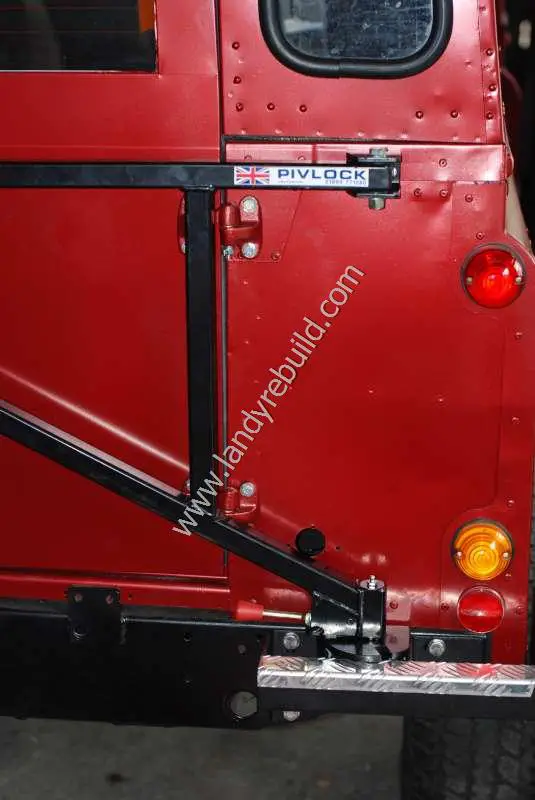
I relocated the rear fog light slightly higher and to the right, and an additional rear reflector was used to conceal the original hole.
Comments
Have your say about what you just read! Leave a comment in the box below.
(Your email will not be displayed)
NOTE: All comments are moderated, so will not appear immediately.