I had already planned to replace the instrument panel lighting with blue LED bulbs. There were a couple of additional little jobs to do as well though, including fitting a rev counter and repairing the console housing.
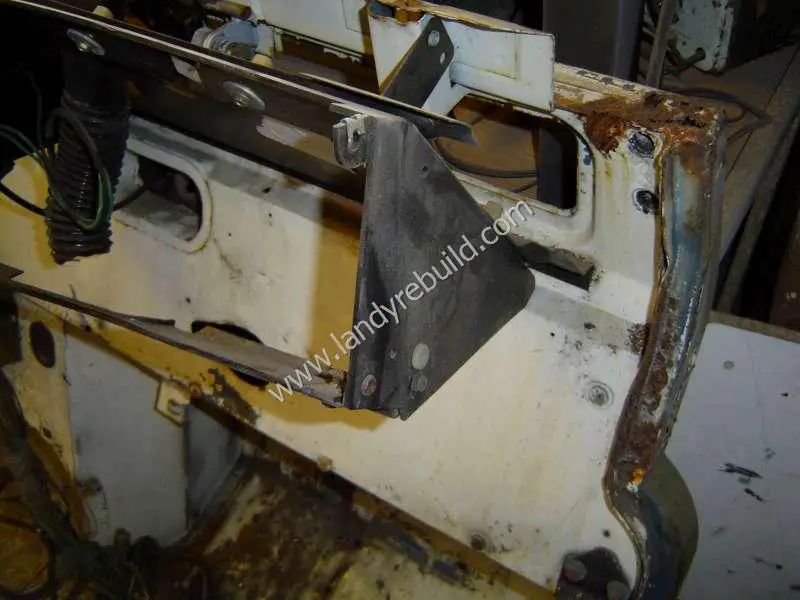
Here's the console housing with the instruments and wiring removed. Note the rust in the top corner of the bulkhead in the right-hand photo:
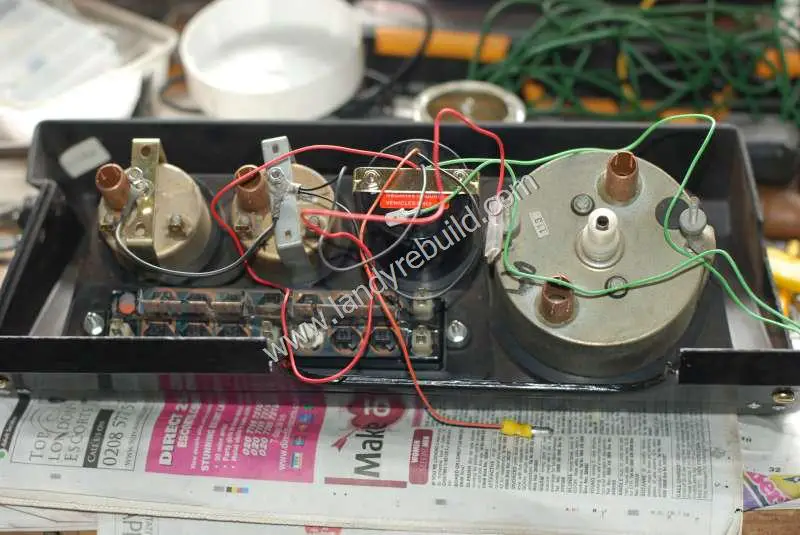
I took a photo before the instruments were removed in case I needed it for reference when it came to reinstalling the wiring. Actually it wasn't necessary; the wiring diagram at the back of my service manual was sufficient - and in any case, I re-ordered the layout of the instruments.
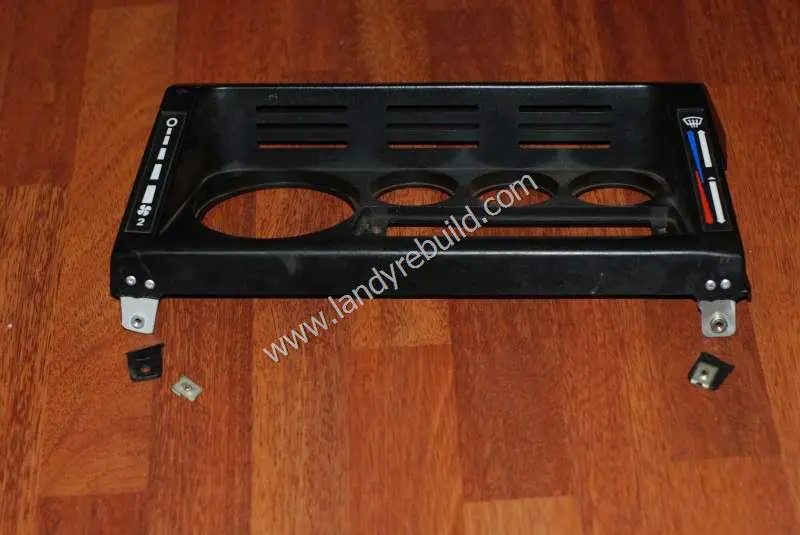
The little plastic clips on the bottom of the instrument panel housing were held in place by gravity and prayer. I'm really not a fan of plastic housings. Anyway, I cut some thin pieces of scrap steel to the correct shape and riveted them in place. The steel came from some clips which were originally used to hold servers in a server rack (back in the days when I worked in an IT department!)
This is the layout of the renovated instrument panel, viewed from the rear. From right to left the instruments are: speedometer, rev counter, water temperature, and fuel gauge. The rev counter is switchable between 4-cylinder and 8-cylinder engines - obviously I chose the 8-cylinder setting! The face is 52mm (or 2 inches) in diameter, which enables it to fit very nicely in the console. The installation was very easy. The thin orange and black wires are for the illumination of the dial (a blue LED bulb). The black wire is earth, the red one is for 12V positive power supply, and the green wire goes through the bulkhead, ending up on the negative terminal of the coil.
Comments
Have your say about what you just read! Leave a comment in the box below.
(Your email will not be displayed)
NOTE: All comments are moderated, so will not appear immediately.