The Land Rover heater is perfectly capable of demisting the windscreen and warming the cabin, as long as it is properly adjusted. It consists of an air box housing a radiator matrix, which has coolant constantly flowing through it from the vehicle's cooling system. When the coolant gets hot, so does the heater. The heater motor simply channels air from the wing vent through the matrix. The vent flap controls are linked to the heater box by cables - and this is normally the cause of problems. The cables can stick or even rust within their sheaths, or simply be wrongly adjusted.
The vent flap diverts the air flow - when the lever is set to the cold (blue) setting, air should be diverted so that it bypasses the heater radiator matrix. Sometimes this flap does not shut all the way, so the cable needs to be readjusted at the top. Be careful when carrying out any adjustment though. The cable runs through a little "extended" nut with a hole in the end, and these can be difficult to obtain if you lose the originals!
It is worthwhile removing the cables from the levers at the heater, then working them through the full range of movement from the instrument panel side and lubricating them. I found one of these little items:
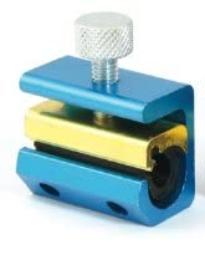
quite useful - I got it for lubricating the clutch cable on my previous motorbike.
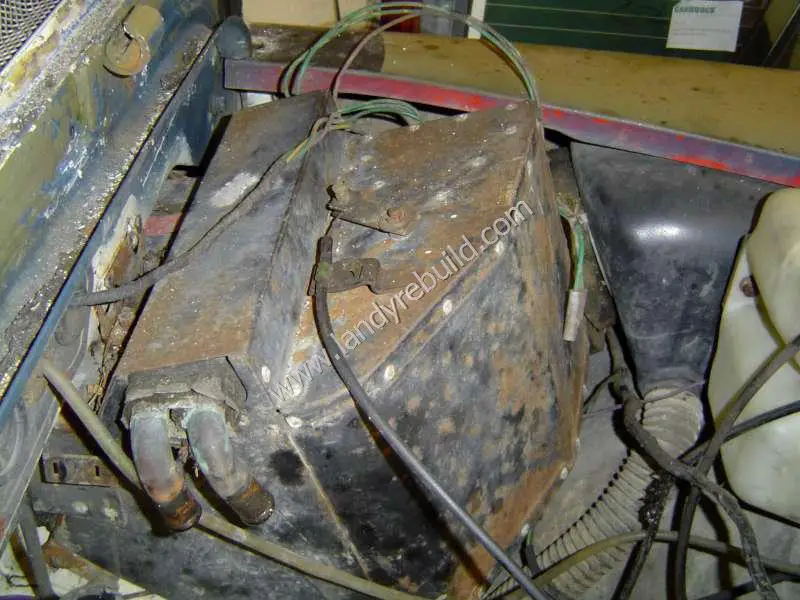
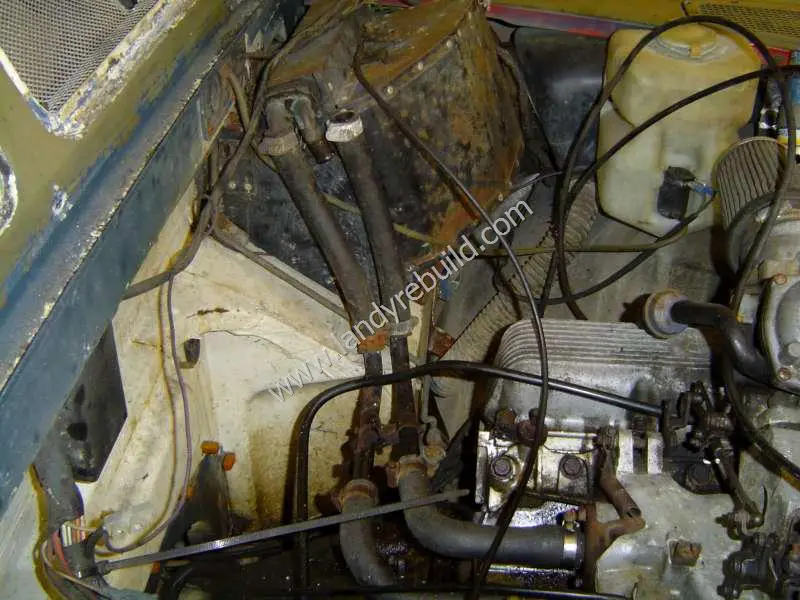
Before removing the heater to the workbench for renovation, I took the obligatory photos to show how the heater hoses and cables were connected:
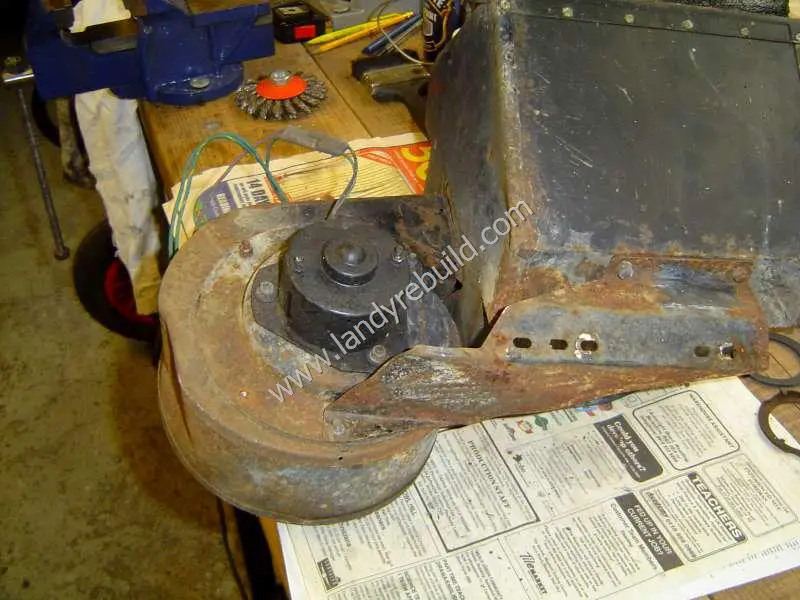
With the heater removed to the workbench, it was evident it had been somewhat damaged in the past. Some rough panelbeating appeared to have been done with a large hammer.
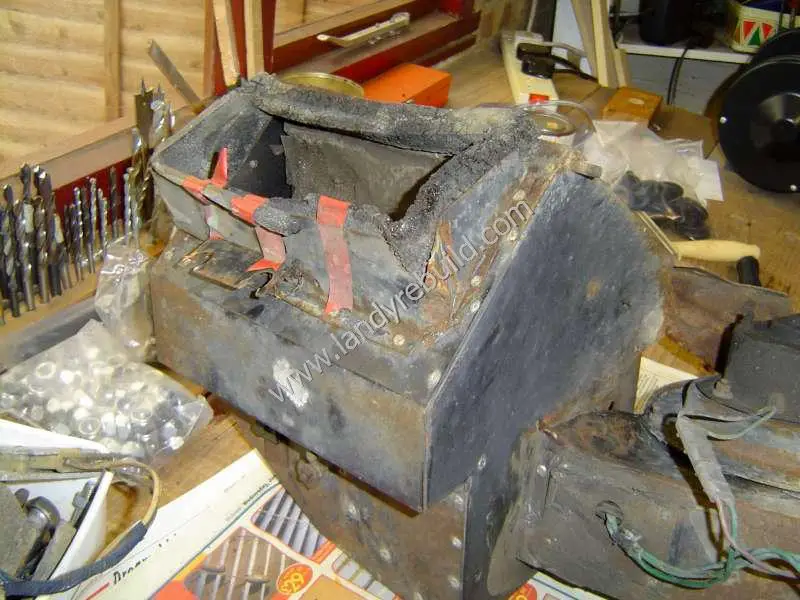
I dismantled the entire thing by drilling out the rivets holding the sides together. Having peered through the heater aperture in the bulkhead, it had appeared that the heater matrix itself was in fairly good condition, and having removed it I was pleased to find that this was indeed the case.

The motor itself was still fine:

With everything dismantled, the old paint and rust were removed and the bent bits straightened out. Everything was then repainted with zinc primer and two coats of black Hammerite before being reassembled.
Comments
Have your say about what you just read! Leave a comment in the box below.
(Your email will not be displayed)
NOTE: All comments are moderated, so will not appear immediately.