The handbrake on the 110 is a transmission brake, and does not just operate the rear brakes as is the case in most conventional vehicles. The handbrake drum is mounted on the rear of the transfer box and is accessible through the centre seatbox cover plate.
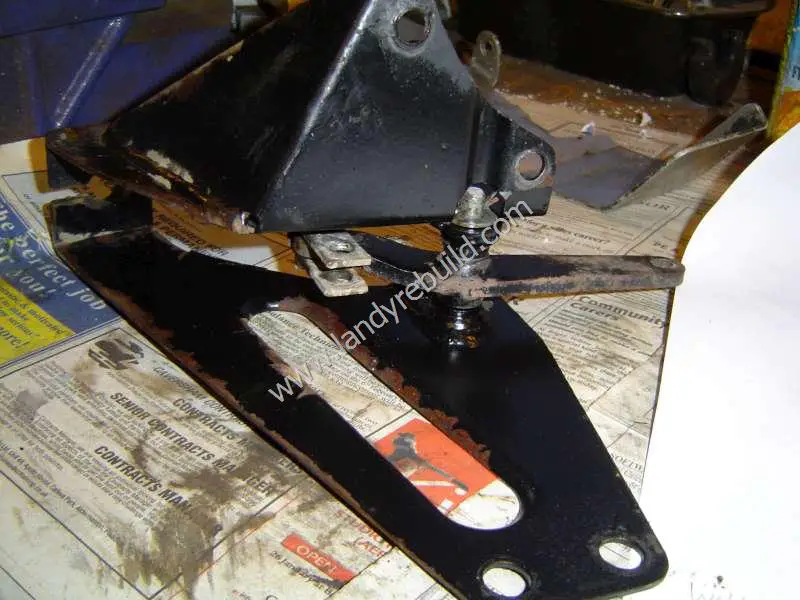
The handbrake lever itself is mounted on the seatbox base at the right-hand side of the gearbox tunnel (for a right-hand drive vehicle!)
Here's the lever mounting prior to being stripped and repainted:
Why did the designers opt for this type of handbrake? Well, the advantage of a transmission brake is that it is a completely separate system. It is also well-protected from any potential damage when driving off-road. It has more ground clearance, so when travelling through relatively deep mud it is less likely to become contaminated and fail. Contamination can still occur though!
The brake drum itself can be removed in order to fit new brake shoes (this requires removal of the rear propshaft) but generally the handbrake will pretty much never wear out. Things which do require a bit of attention are the adjuster cone and plungers. These can seize in their housings, but a generous application of something like WD-40 will solve this issue. Likewise the cable itself will benefit from occasional lubrication.
Although sometimes it is called an emergency brake, it should only be used on a moving vehicle if the footbrake is non-operational, because there is a good chance of damaging the transmission. Of course if you are in an emergency situation, damaging the transmission should be the least of your worries!
Another advantage of a transmission brake system is that because it works on the rear propshaft, braking is transmitted through the transmission to all four wheels (the 110 has permanent four-wheel drive). This of course assumes that the rest of the drive train is intact!
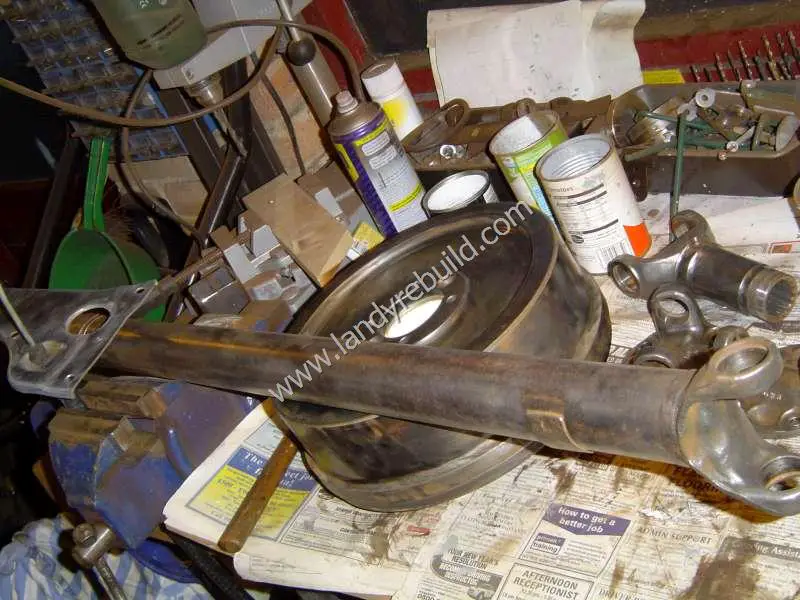
The handrake drum and rear propshaft cleaned and ready for painting:
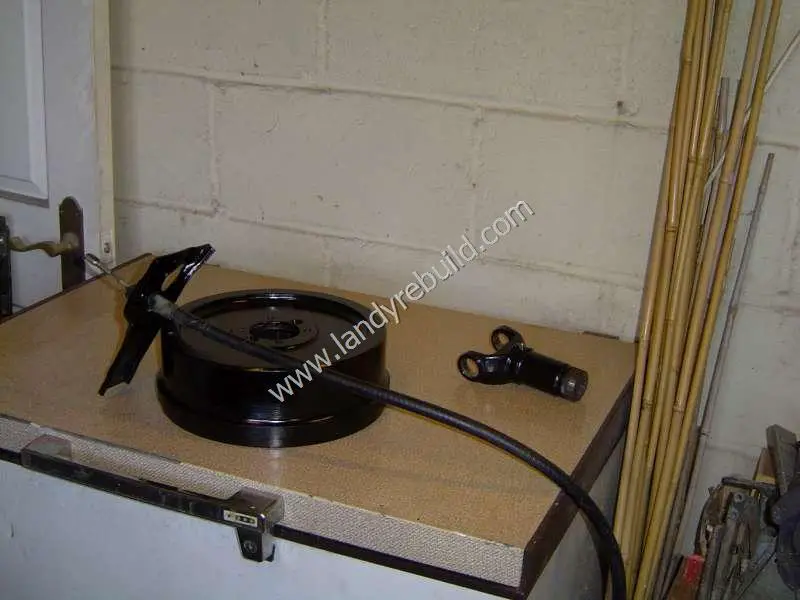
And the finished article:
When reassembling the expander unit, a rubber band is helpful in keeping the thing together. But remember to remove the rubber band before installing the brake shoes otherwise you'll probably experience some bruised knuckles.
To adjust the handbrake, the adjuster should be screwed in fully and then backed off two notches. Pull the handbrake lever firmly in order to centralise the shoes, then release it. The handbrake drum should now turn freely. Then at the handbrake lever end, the locknut should be adjusted so that the first two clicks on the ratchet are free movement and the third click firmly applies the brake.
Here's a view of the adjuster and locknut:
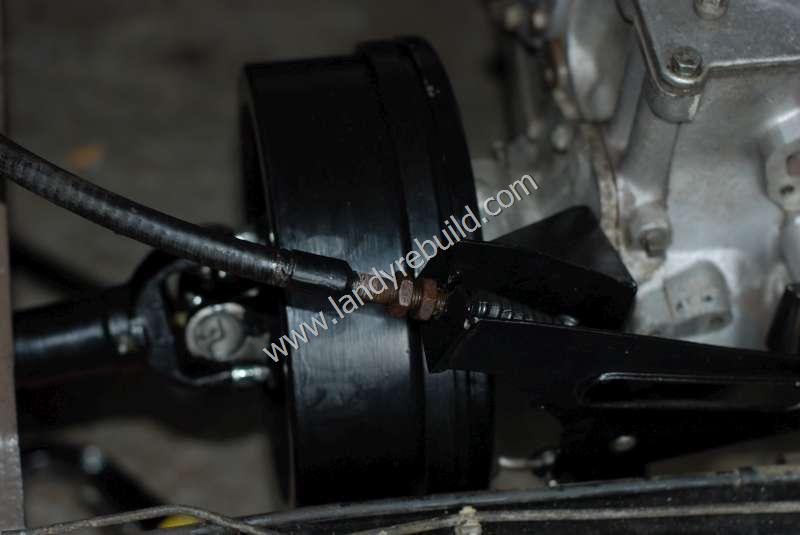
Once you're happy with this setting, the propshaft can be reconnected.
Post-renovation Oil Leak
If you notice any oil leak from the handbrake drum, this is due to a failed oil seal around the drive flange on the transfer box. There's also a felt seal on the splines of the drive shaft, the function of which is just to absorb a trace amount of oil escaping past the main seal. If the main oil seal has gone, it won't cope.
Replacing the oil seal means the handbrake drum needs to come off. But it's a necessary job; after all, you don't particularly want the brake shoes well-lubricated! Don't buy Britpart oil seals or you'll be replacing them again very shortly - don't ask me how I know!
Comments
Have your say about what you just read! Leave a comment in the box below.
(Your email will not be displayed)
NOTE: All comments are moderated, so will not appear immediately.