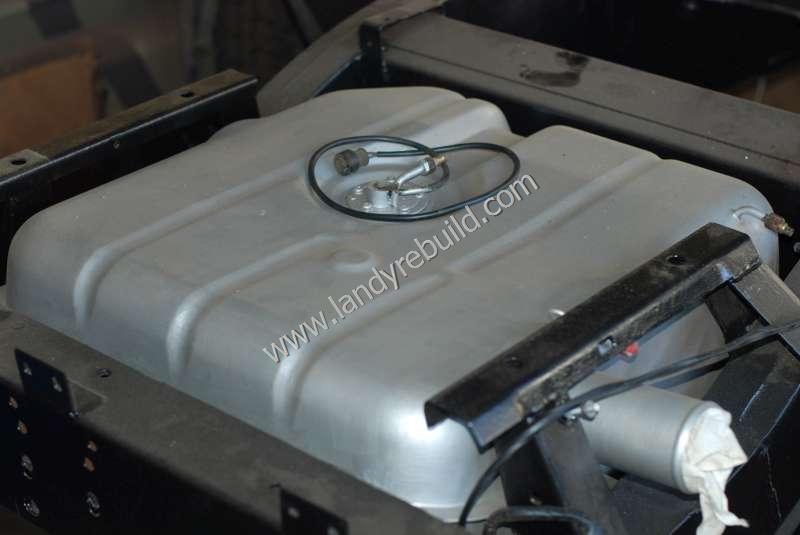
With the chassis complete and the axles reinstalled, I thought it would be a good idea to install the fuel tank before putting the rear tub back on! It had already been repainted, and a new float sender unit installed. I had plugged the filler aperture with a rag to prevent any dust getting in.
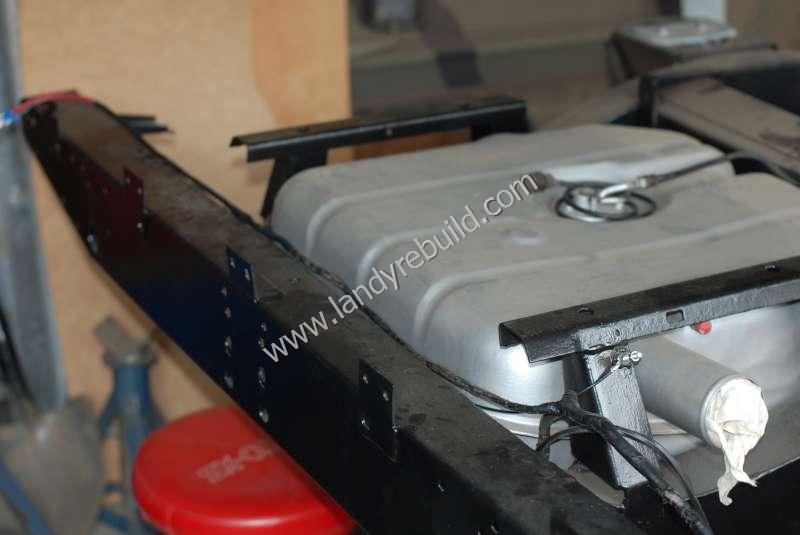
Even though it was empty, it proved quite heavy to lift into position. This had to be done from underneath. I used my adjustable-height workshop seat to hold it in place whilst I inserted the bolts. If you don't have one of these you could always use a trolley jack with some offcuts of wood to protect the tank whilst lifting it. The fuel tank bolts should have rubber washers installed on either side of the lugs on the chassis in order to insulate the tank from any vibration. Because of this, I needed to ensure that the fuel sender had a decent earth connection, so I ran a length of cable to an earthing point which I'd installed in the upright arm of the rear floor support - you can see it in the second photo below.
The front of the fuel tank is retained by two bolts, both locating in the central chassis crossmember. The rear also has two bolts which line up with holes in the front of the rear crossmember. I used stainless steel bolts throughout. You can see the connector for the original in-tank pump on top of the tank - I left this in place even though the pump itself was not working. (It has an inbuilt fuel filter at the bottom, and I didn't want to be left with a hole in the top of the tank!)
With the tank reinstalled, I was now able to move on to the next task - replacement of the rear body!
Comments
Have your say about what you just read! Leave a comment in the box below.
(Your email will not be displayed)
NOTE: All comments are moderated, so will not appear immediately.