So, having removed the bulkhead, I detached the steering wheel, and removed the windscreen wipers, wiring harness, air vents, and of course the pedals from the drivers' side. Now it is of course possible to carry out footwell replacement with the bulkhead in situ; but I think it's definitely easier with the bulkhead removed.
Interestingly enough, at the time I did this, replacement footwells for a 110 bulkhead were not available anywhere, so I ordered footwells for a Series 3 from Craddocks.
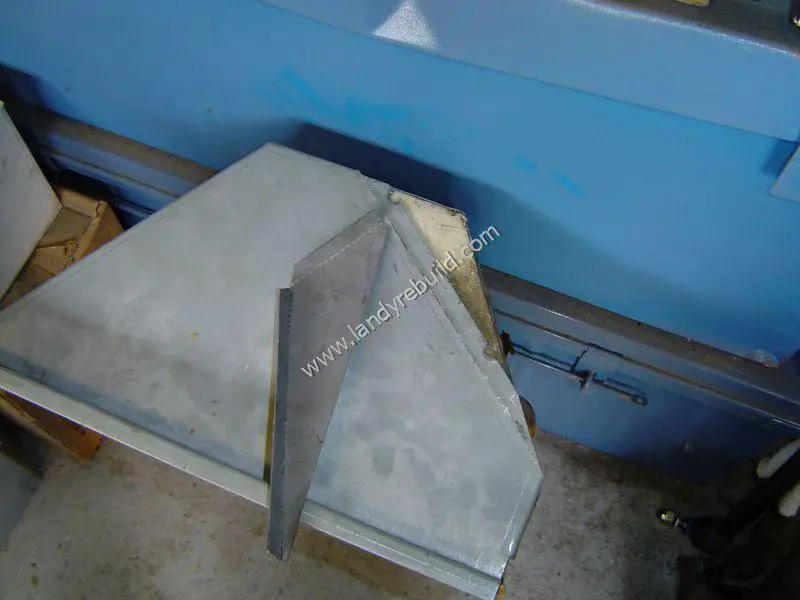
As expected, when the two footwell repair sections arrived, I found that they needed some "tweaking". Note the difference in height of the vertical section:
The first thing I did was to expose all the spot-welds holding the footwell in place, by using a using a wire brush on an angle grinder:
I then drilled out all these spot welds using a special drill bit, and also removed those on the replacement footwell (in order to separate the side panel). Placing the side panel on the old removed footwell shows the difference between a Series footwell and that from a 110. I cut out a filler piece using some scrap sheet metal.
This was then welded into place:

The main section of the new footwell was then cut in the middle, re-shaped to match the side panel, and then spot-welded into place.
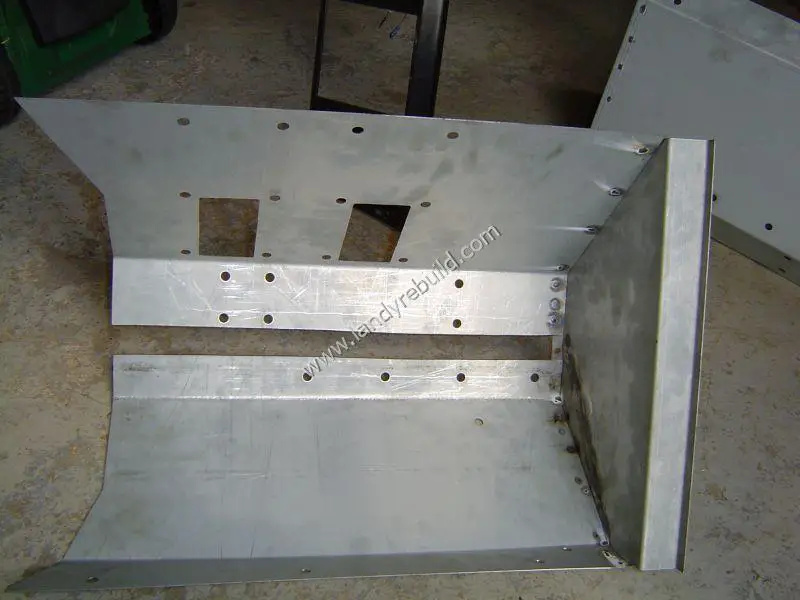
The modified footwell was then spot-welded to the bulkhead.
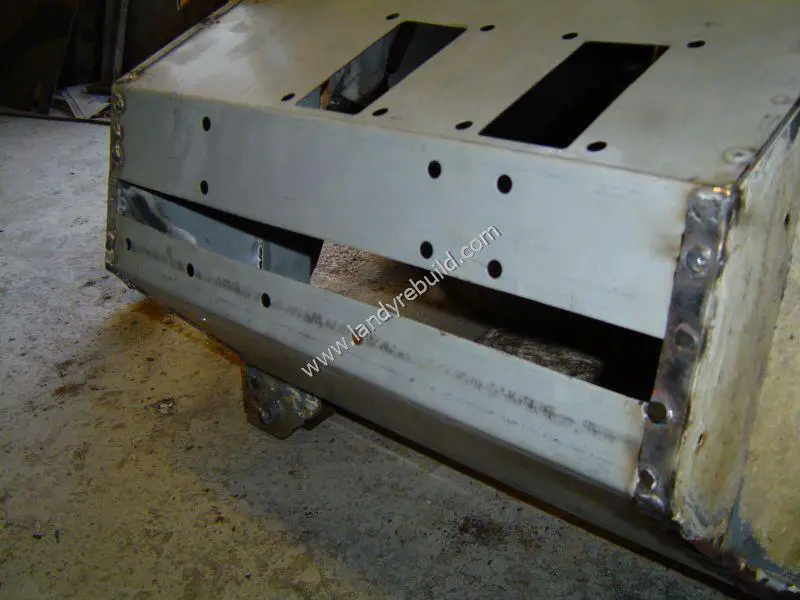
Finally another section was cut from some scrap sheet metal to strengthen and fill the middle section, and welded into place. The cutout for the brake pedal was enlarged to match the old panel and holes were drilled for the accelerator pedal and steering column supports.

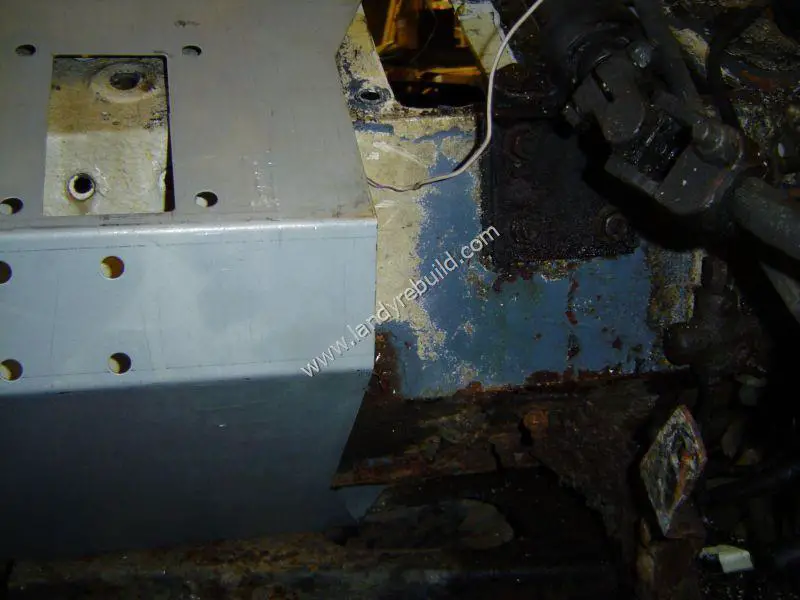
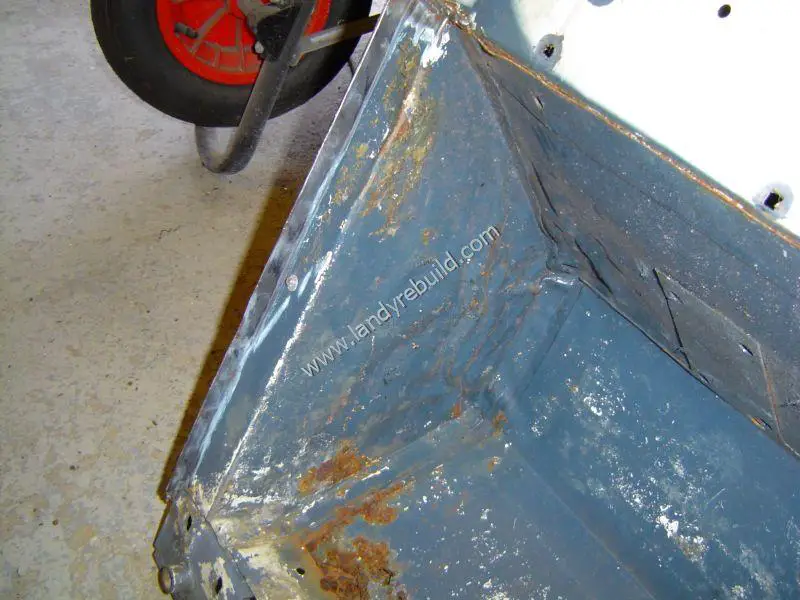
The process was then repeated for the passenger-side footwell. Here's what it originally looked like:
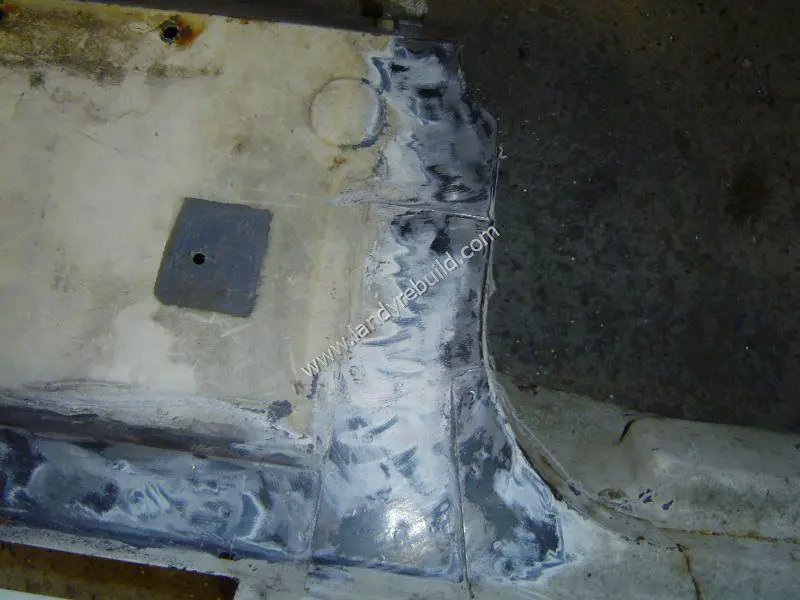
And here it is after the new section has been fitted:
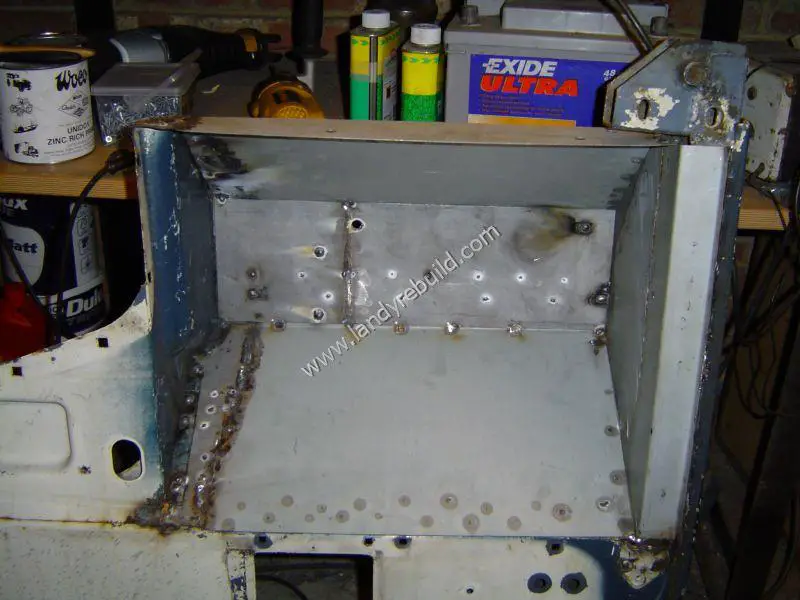
In case you were wondering, all the welding of this repair was done with a Clarke 130Amp mig welder.
Comments
Have your say about what you just read! Leave a comment in the box below.
(Your email will not be displayed)
NOTE: All comments are moderated, so will not appear immediately.