Before refitting the front panel and seatbox, I decided to give the engine and gearbox a once-over and change the oils.
The engine, gearbox and transfer box all take the same oil, which makes things a bit easier (it's a LT95 gearbox with integral transfer case). I managed to undo the transfer case sump plug without too much trouble. About a cupful of oil came out. I kept looking to see if there was any more in there! No, that was it. I then cleaned up the sump plug and reinstalled it. Then using an old funnel connected to a short length of hosepipe, I measured out 3.16 litres of new 10W40 Castrol engine oil, and poured that in. The filler plug was then tightened.
Next: the main gearbox. After a bit of a struggle (unlike the previous owner, I don't find that it's necessary to torque the sump plug to 175 Nm; 30Nm is sufficient!) the sump plug came out. Followed by a stream of water.
This was followed by some milky-white emulsified oil, then the oil proper (about a litre this time), followed by some thick sludge. Well it had been standing for 6 years! And maybe the water is from when I washed all the crud from the gearbox. Or it could have been from wading. Anyway, I removed and cleaned the filter (which is inside the sump plug), reinstalled it, and re-fitted the sump plug.
(Later note: I think the water ingress must have happened when I used the pressure washer to clean the gearbox. All gears work fine, there's no odd noises, and the oil is still fairly clean).
Now to refill it.
Er.... or maybe not. The filler plug head was almost perfectly round. No spanner on earth would have fitted it. But the previous owner had obviously solved this issue - around the rim of the filler plug were deep dents where a sharp chisel had been used to remove and reinstall it.
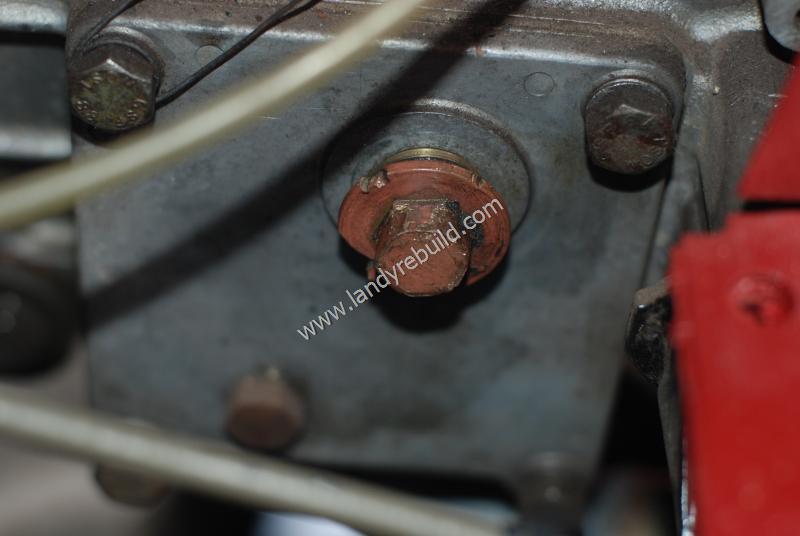
I ordered a new plug, and whilst waiting for it to arrive, changed the engine oil. Although I had not dismantled the engine, I figured it was a good idea to make sure the oil pump was properly primed. This can be done by dismantling the pump and packing the gears with petroleum jelly. Another method (and the one which I used) is as follows:
- Put a mark on the base of the distributor, so that when it is reinstalled it goes back in exactly the same position.
- Remove the distributor.
- Remove the cylinder head covers so you can see when the fresh oil appears at the top of the engine.
- Connect a 12V light bulb between the battery and the oil pressure sensor. (Obviously the ignition needs to be on, but just to ensure that I didn't inadvertently start the engine, I disconnected both the new starter motor and the electric fuel pump).
- Take a piece of scrap tubing and flatten one end so that it forms the same profile as the bottom of the distributor.
- The other end goes in a variable-speed electric drill.
- Start the drill slowly. You'll feel the added resistance when the pump is primed; the oil pressure light will go out, and you'll see fresh oil on top of the engine.
- You can now replace the distributor in the same original position.
With the assurance that all internal parts would now be properly lubricated, I could move on to reinstalling the radiator and new electric fans.
Comments
Have your say about what you just read! Leave a comment in the box below.
(Your email will not be displayed)
NOTE: All comments are moderated, so will not appear immediately.