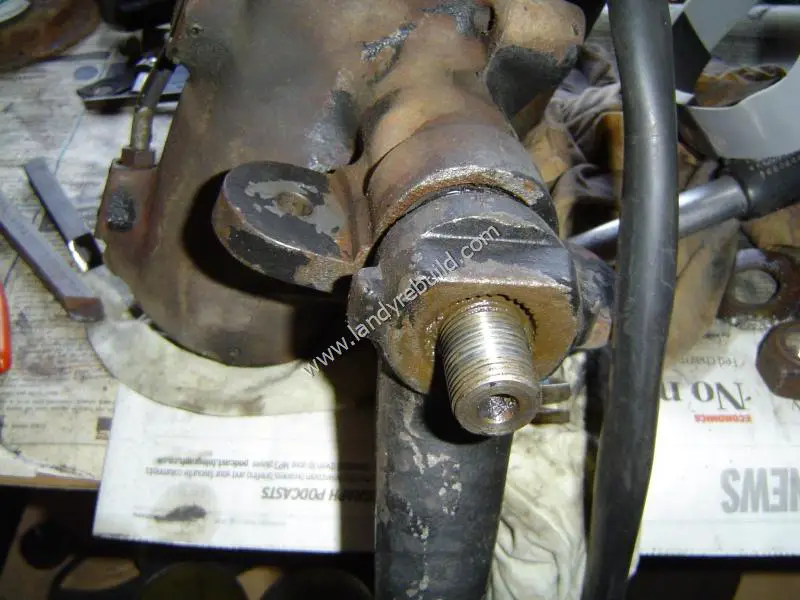
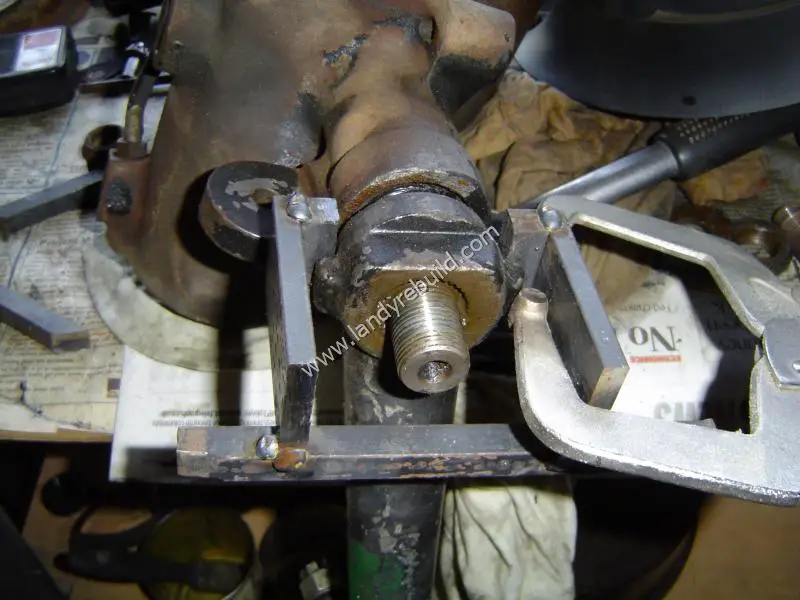
In order to reduce the play in the steering, drop arm removal was necessary. (The steering box needed to be removed anyway in order to renovate the chassis). I had obtained a replacement power steering box from Adwest Engineering as the old one was extremely leaky - you can see this in the next photo:
Now I didn't know much abuse this power steering box had suffered, so I figured it would be more cost-effective in the long run to replace the whole thing rather than install new seals in the old one and then have something else go wrong later.
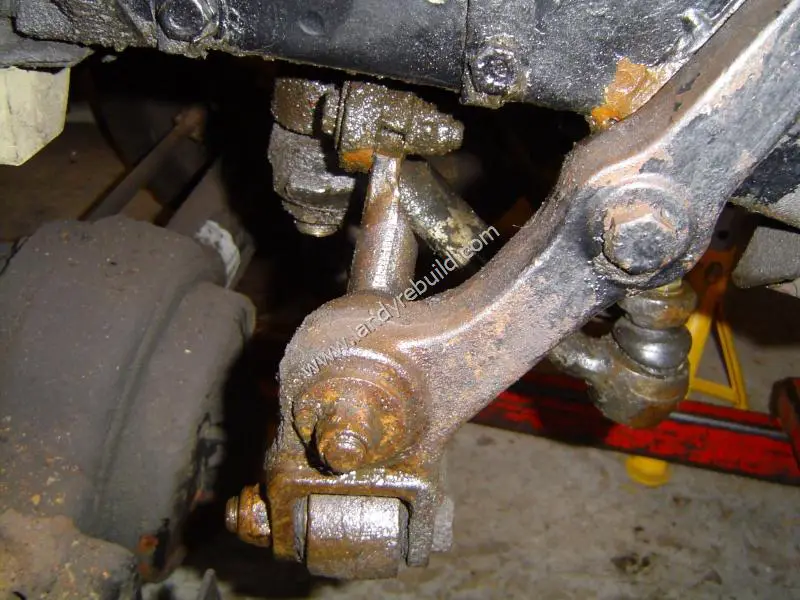
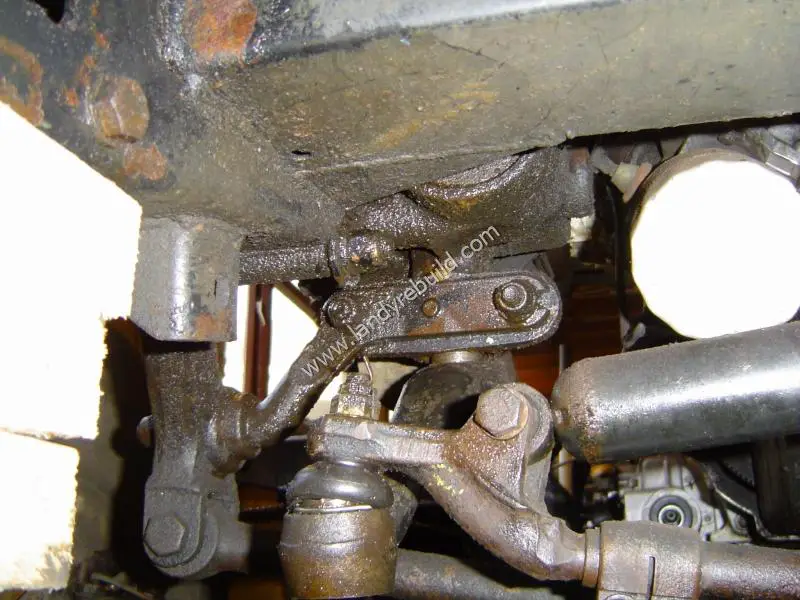
One of the sources of steering play is the drop arm ball joint. Usually the rubber gaiter splits, allowing water in and letting grease out, with the resultant corrosion causing the play in the steering.
A ball joint repair kit is available:
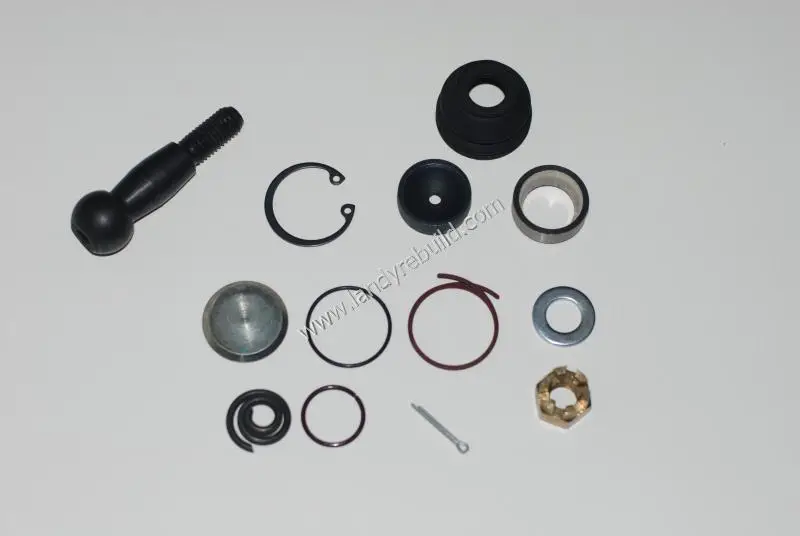
Installing this repair kit is the problem. The split pin and castle nut come off easily, and with a tap from Land Rover Special Tool #1 the joint comes apart. Now, at the other end of the drop arm, the large tab washer can be bent back, and the nut removed.
I was fortunate in that I had removed the entire steering box, so was able to work on this problem on the workbench rather than under the Land Rover.
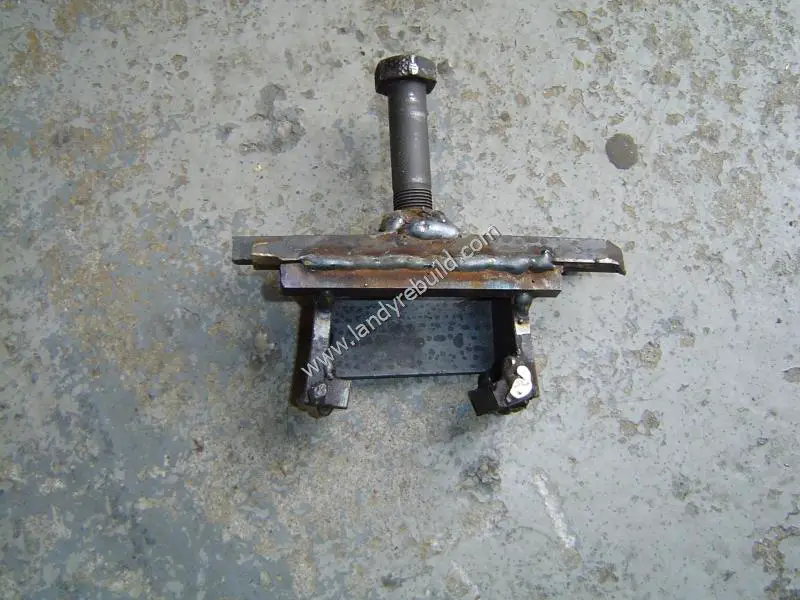
This is where the fun starts. Removing the drop arm from the steering box shaft requires a puller. Not having one, I decided to make my own. Using some scrap steel, I made the two puller arms:
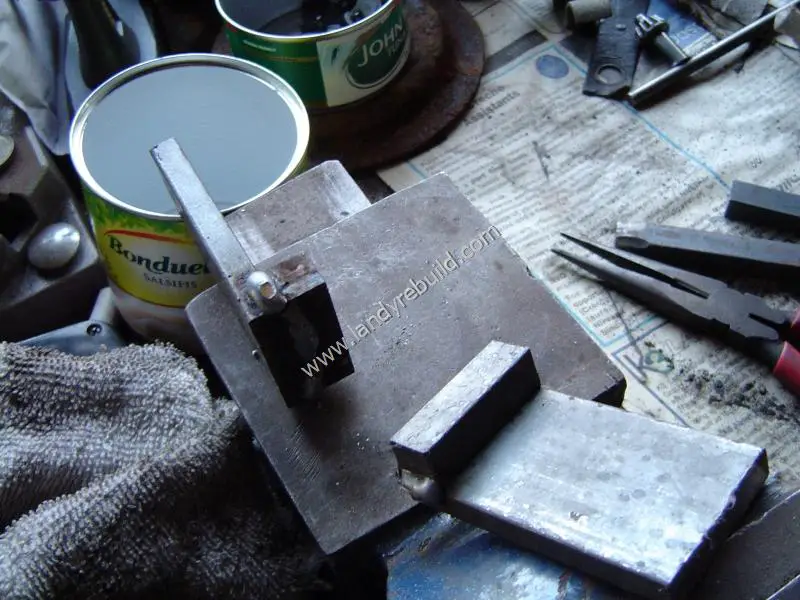
I then placed these in the correct position on either side of the lugs on the drop arm, prior to welding them in place.
The nut from a very large bolt was then welded into position:
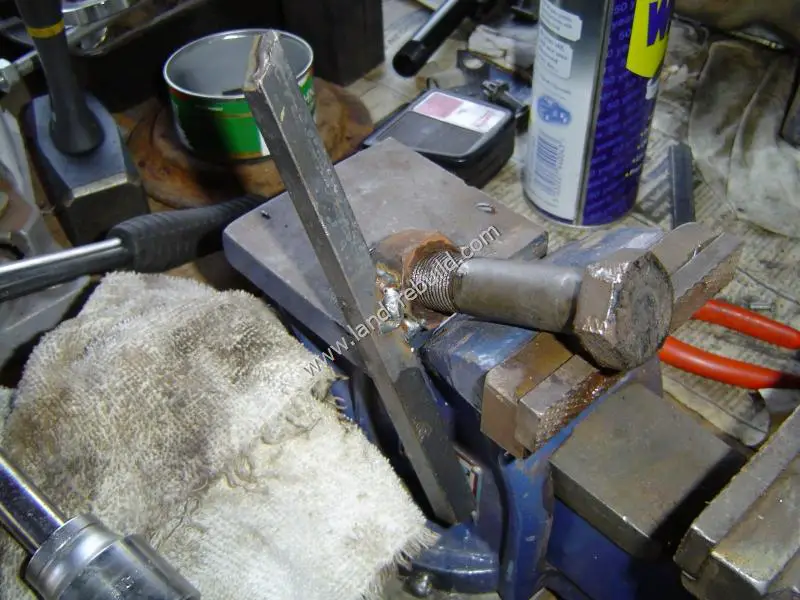
Here's the completed article, ready for use:
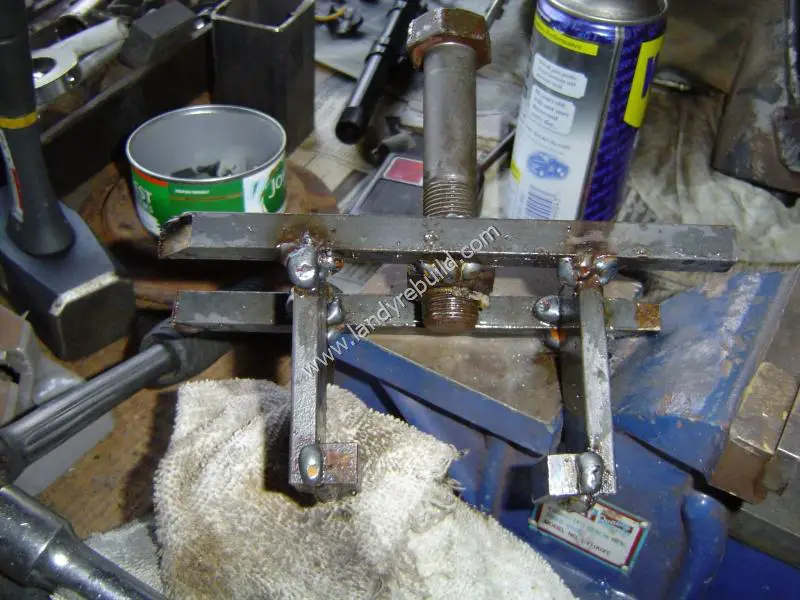
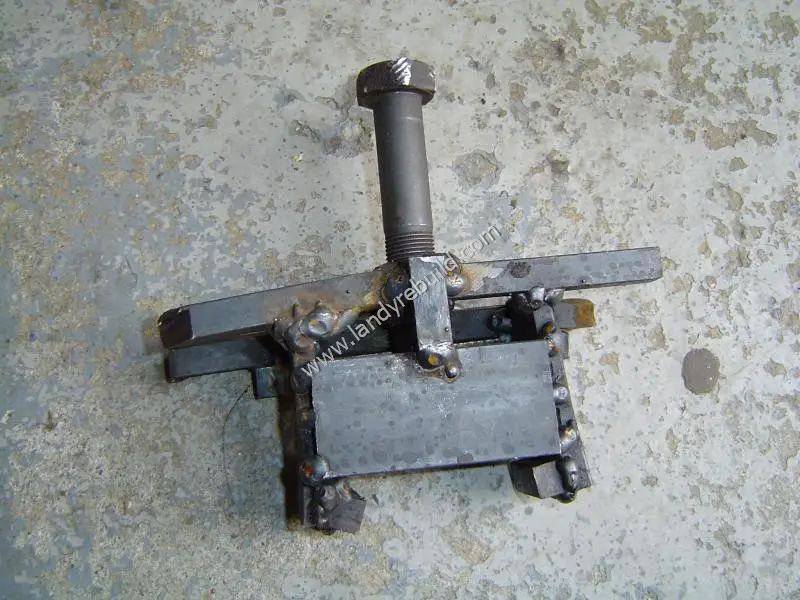
Hmm, maybe not. All that happened was that the puller started bending. I therefore reinforced it with some extra bracing:
...which didn't work either, so even more bracing was welded in place:
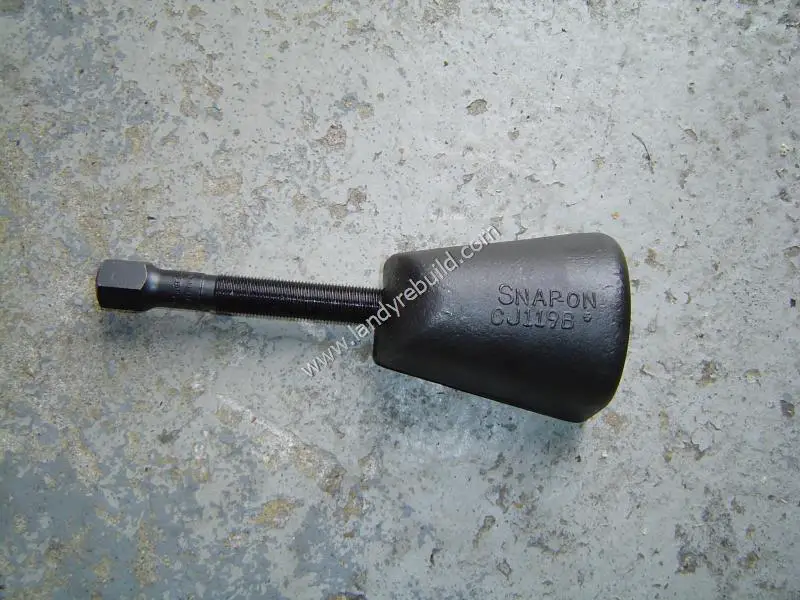
...and with an equal lack of success there, I did what I should have done in the beginning, and purchased one of these:
...and 30 seconds later...
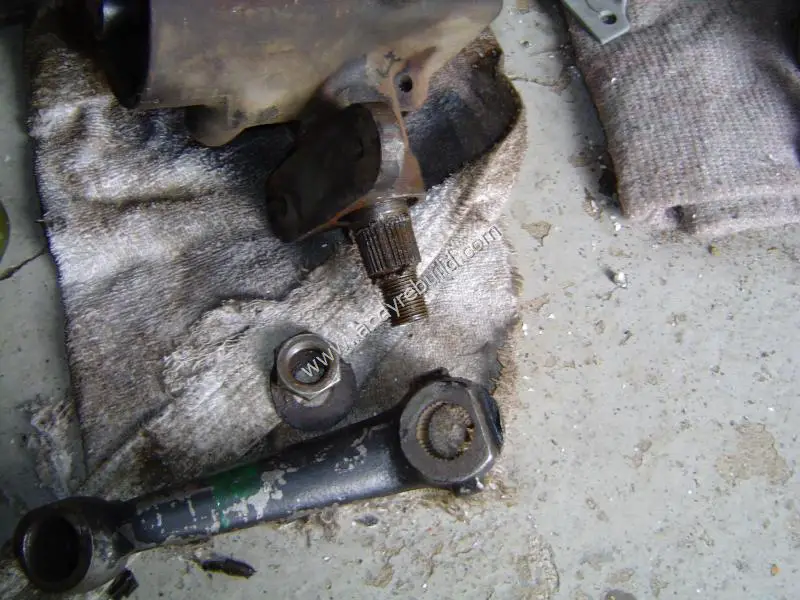
the drop arm was off. The repair kit could then be installed. This was simply a matter of removing the old circlip - all the internal bits then fell out. The old top seat was then removed by tapping it with a hammer and steel rod. Once removed, the arm was cleaned inside and out, using a wire brush on an electric drill. It's also important to clean inside the circlip groove.
The new seat was then pressed into place using a 19mm socket as a drift. Having thoroughly greased the end of the new ball, this was inserted, followed by the bottom seat. Then, holding the drop arm in a vice, the spring and the thin rubber o-ring were inserted. I added some more grease at this stage to lightly cover the spring. (Don't put too much in or it will be forced out when the endplate is installed).
Now the tricky part was installing the new endplate with the chamfered edge towards the inside. This needs to be pressed down against the spring whilst the circlip is installed, so it helps if you have three hands. Once the circlip was fully located in its slot, the new rubber boot was installed over the protruding end of the ball joint, with another dollop of grease. The spring retainer and clip ring were then fitted to hold the boot in place.
The drop arm was then reconnected to the steering box shaft using the new nut, washer and split-pin, with the tab washer being bent to prevent the nut from rotating.
(Oh and in case you were wondering, the drop arm removal tool is also called a Pitman Arm puller, and the Snap-On part number is CJ119B).
Comments
Have your say about what you just read! Leave a comment in the box below.
(Your email will not be displayed)
NOTE: All comments are moderated, so will not appear immediately.