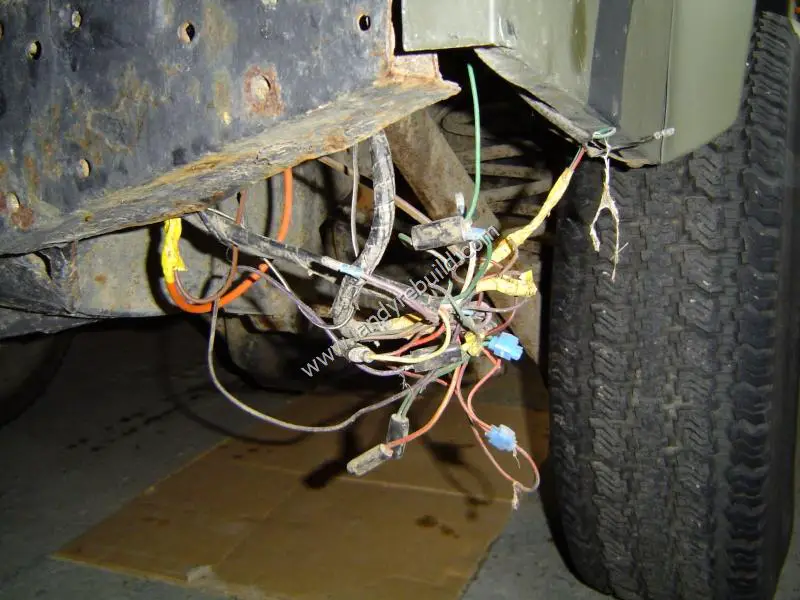
As is probably normal in a 28-year old vehicle, the wiring loom was a mess. Whilst inspecting the rear crossmember, this lot fell out:
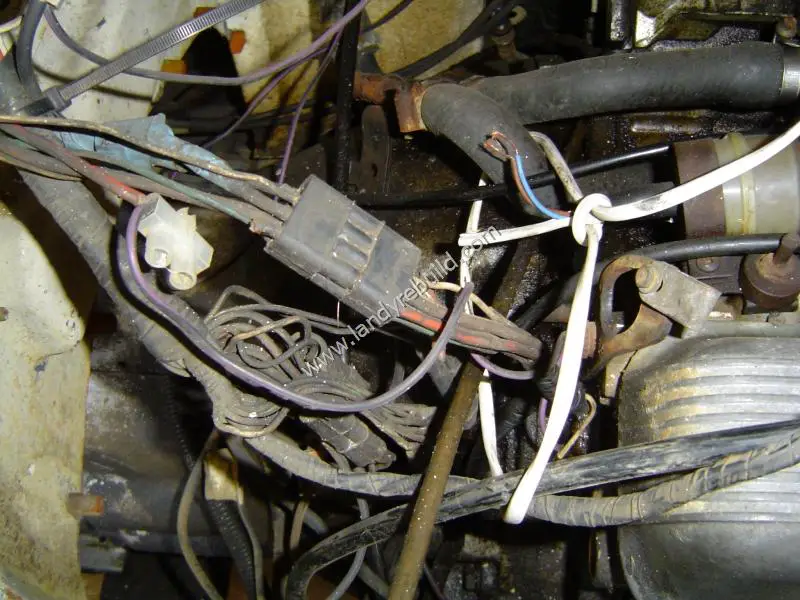
Once everything had been disconnected and the rear body removed, it was time to examine the wiring. Unfortunately a previous owner had used "Scotchlocks" - a simple way of joining a new wire to an existing one. The trouble is, they're not reliable long-term, and damp and vibration tend to make them fail. This can be intermittent, leading to a nightmare when trying to diagnose an electrical problem.
At the bulkhead end, things were not really much better. Several wires had been cut off right next to the connectors, and ordinary domestic flex had been used as well - although goodness knows what it was supposed to connect to!
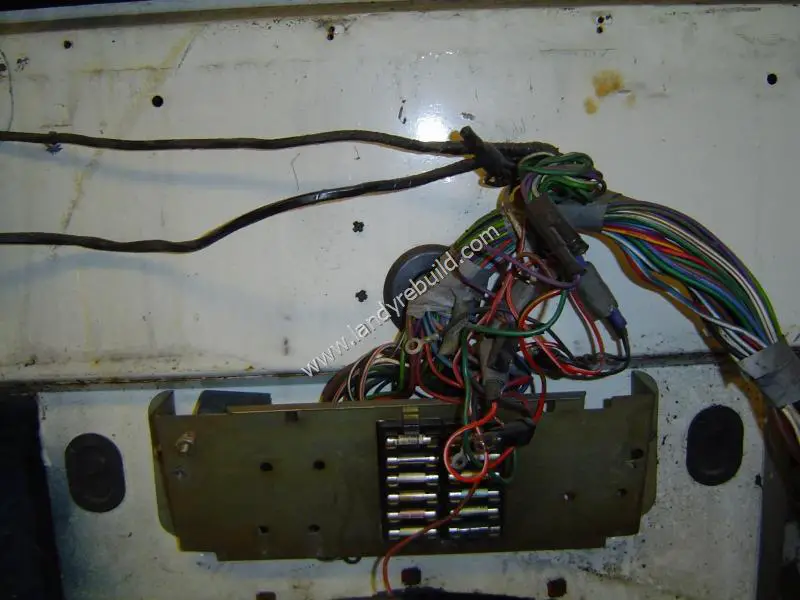
All connector blocks were then disconnected, including those for the instrument panel and centre console gauges. There's no need to worry about doing this by the way, each connector block is unique so you don't have to be concerned that they'll get mixed up. Also, all the wires have different colours. (At least, that's the theory!)
The fuse box was left until last, with the wiring loom being gradually fed through the hole in the bulkhead one connector at a time until the entire thing could be removed from the vehicle.
The loom for the rear lights runs inside the offside chassis rail. I left this where it was until later.