When I had a Series III, there was an incident in a shopping centre carpark in France. It was a very large carpark, and there weren't many parked vehicles around. Because of the 109's large turning circle, I had left the vehicle in a row which was devoid of other vehicles.
However, when we returned to the vehicle we discovered that despite its segregation, some (insert appropriate word here) had managed to drive into the rear corner, damaging the aluminium panel. I therefore decided that not only would I be fitting rear corner protection to the 110, but also some form of side impact protection like sill bars.
When researching various types of sill bars, I eventually decided on a set which also functioned as "tree sliders". These were of galvanised steel. However, they were not designed for a 110 hard top, but for a 110 station wagon. At the time no other sill bars or tree sliders were available, so my only option was to purchase these and modify the attaching brackets. (The station wagon chassis has an extra outrigger towards the rear, to which these tree sliders could be bolted. Lacking this outrigger meant I had to come up with a plan B.)
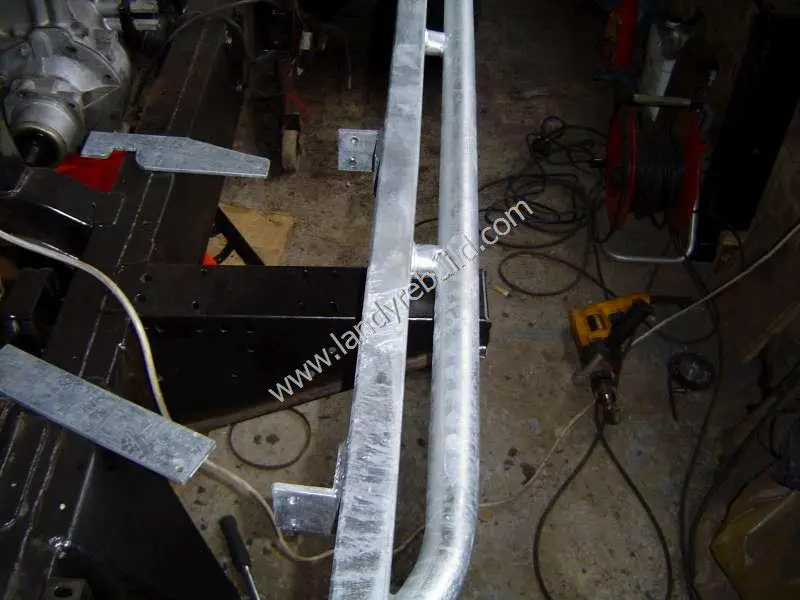
You'll see the problem when you examine the photos. Firstly I placed the tree slider roughly in position.
A closer inspection of the front bracket revealed this would not be a problem at all; it's fitted to the bulkhead outrigger using the same bolt that fixes the bulkhead in place. A couple of extra washers would be needed, but otherwise everything lined up fine:
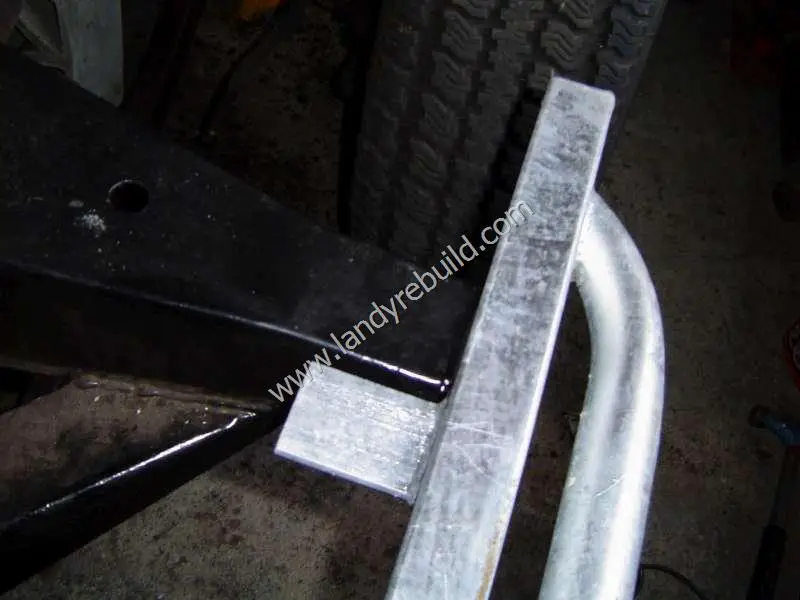
However, the rear needed some thought. In the next photo you can see where the tree slider brackets are meant to line up with the rear station wagon outrigger, and how the hard top differs in the location of this outrigger:
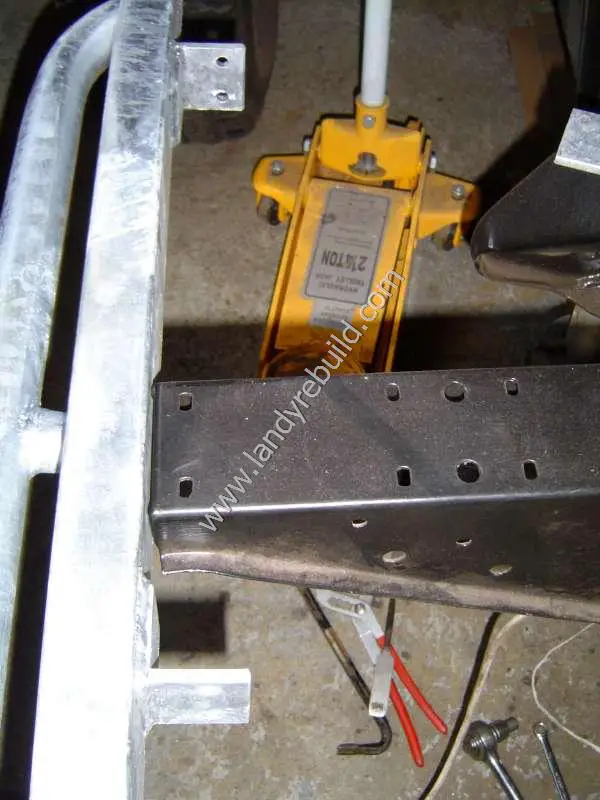
There was also another complication. Because the 110 has side lockers for jerrycan storage, the lower lip of the side locker compartment meant that the tree slider could not just be installed as a direct replacement for the aluminium sill which is usually fitted. Instead it would have to be installed at a slight downward angle so that the side locker door could still be opened.
I therefore decided to only install the tree sliders once everything else had been finished, thus making it the final job of the rebuild.
When it came to the actual installation, I firstly ground off the rear attachment brackets, then installed the front of the tree sliders to the bulkhead outrigger, supporting the weight of the tree sliders with some wooden blocks at the rear. The height of this support was carefully determined so that the tree sliders would slope slightly to the rear of the vehicle, enabling the side locker doors to be opened.
I then placed a length of angle iron along the face of the rear outrigger and marked its position on the tree slider. The tree slider was then removed from the vehicle and I sanded away the galvanised coating in this location so that the weld would get good penetration.
Two holes were drilled in the angle iron, and it was then mig welded to the tree slider. I painted the weld (and the now ungalvanised sanded area of the tree slider) with zinc primer and two coats of silver Hammerite. Once the paint had dried, the tree slider was offered up to the vehicle again, and the location of the holes to be drilled into the rear outrigger were marked.
The tree slider was removed for the final time so that the holes could be drilled in the rear outrigger, and then everything was bolted into place. The same procedure was carried out on the other side.
I was pleased to find that although the tree slider slopes to the rear, it's really not that obvious.