It was now time to dig out the seatbase from a dark corner of the garage where it had been stored for ages. The first step in renovating it was to remove all the spiders. Spiders love Land Rovers, by the way. No-one knows why.
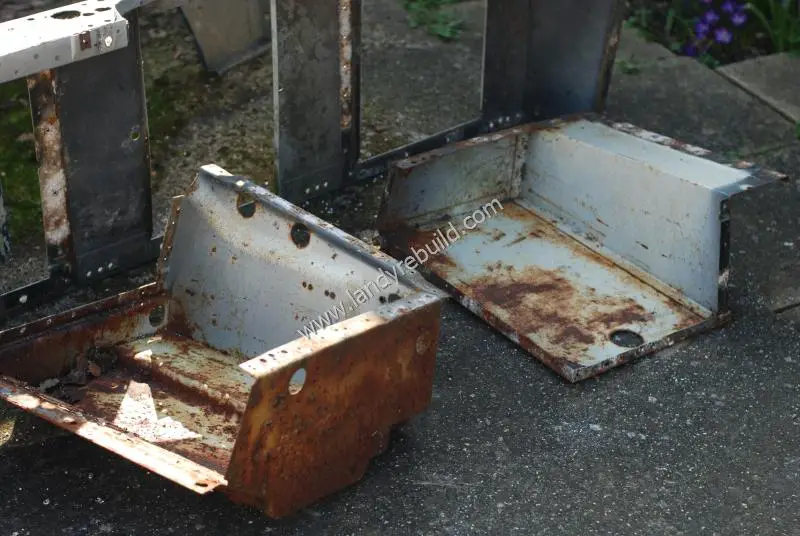
Unfortunately this is another example of a not-so-bright idea by the designers. The seatbase frame is aluminium. The tool locker and battery locker are steel. The parts are riveted together - and when you rivet aluminium and steel together, galvanic corrosion occurs.
I drilled out all the rivets in order to separate the component parts:
The aluminium frame was then spray-painted, first with etch-primer and then the basecoat.
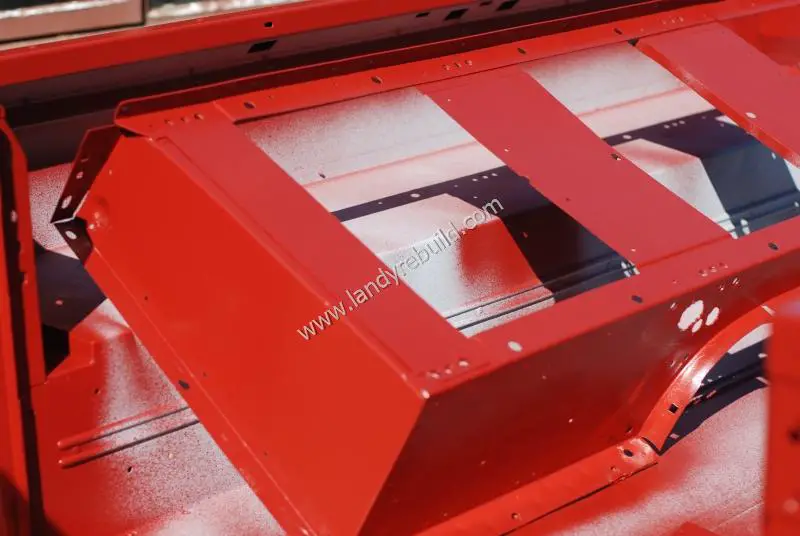
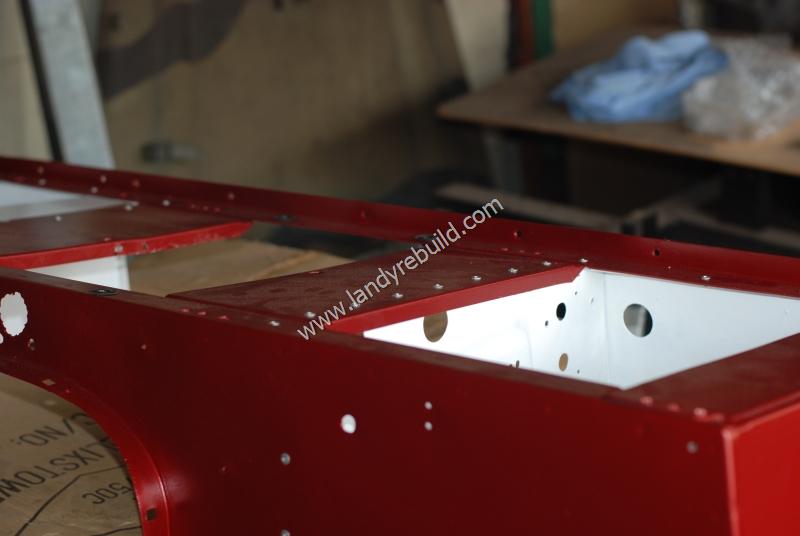
Once the basecoat had dried the final coat was applied. The inside of the seatbase was etch-primed, and then brush-painted white. An extra thick coat of paint was applied along the rivet lines to provide extra insulation against galvanic corrosion. I did consider installing a separation barrier of thin foam tape, but decided the thickness of the tape would be too great to allow the proper reassembly of the seatbase.
The steel tool and battery compartments were de-rusted - again with the aid of a wire brush on an angle grinder, and a small rotary wire brush on a drill for the corners.
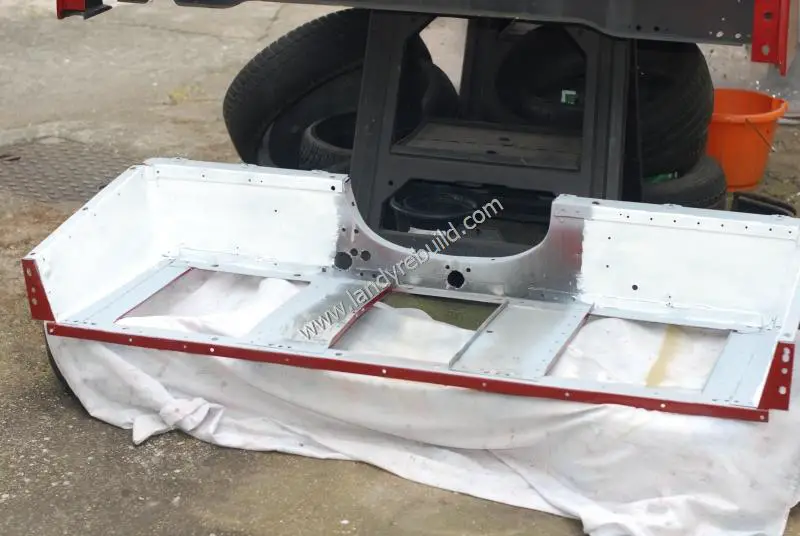
When as much rust as possible had been removed, the compartments were wiped down with thinners and then painted with zinc-rich primer. Once the primer had dried, two coats of white Hammerite paint were applied. Finally the seatbase was riveted together again. I was quite pleased with the end result; the white paint improves visibility inside the compartments.
The seatbase was then put back into position and stainless steel bolts were used to fasten it into place. By the way, if you're doing this - take advantage of the opportunity to grease the seat runners before reinstalling the seats. I forgot.