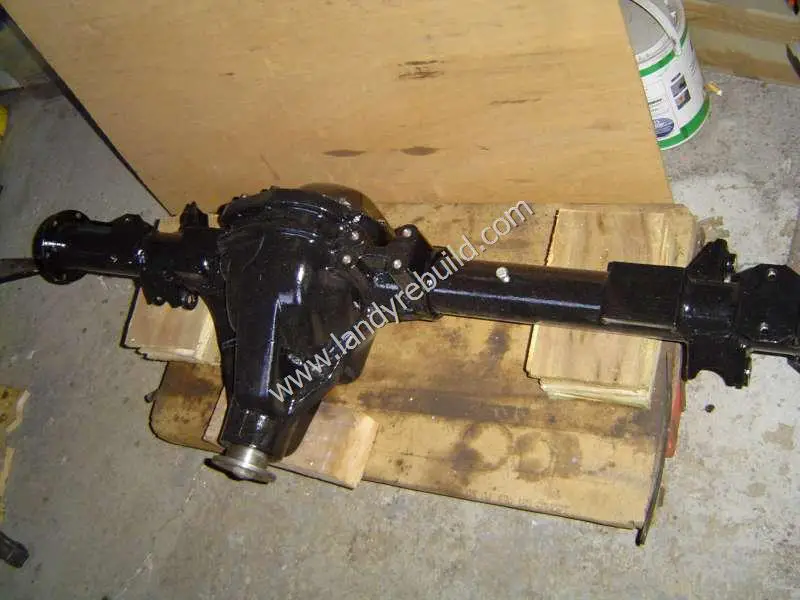
The rear axle had been removed from the vehicle and lowered onto the faithful mechanic's creeper. As I had already made up a frame to hold the front axle, I was able to use this same frame to inspect the rear. By the way, although the rear axle has a Salisbury diff, I'd like to point out that if you're looking for an article on rebuilding a Salisbury diff, it's not covered here. In order to do this particular job, the casing needs to be spread, and this is one of those repair tasks which is possibly beyond the reach of the home mechanic. But for the procedure of doing this, have a look here. If your Salisbury diff has seen better days, you're probably better off just sourcing a replacement axle.
In my case, the Salisbury diff itself was absolutely fine - I did remove the cover plate to have a look inside. The front seal was leaking oil slightly, but this could have been due to the axle breather being blocked; after all, if the breather is blocked the buildup of pressure has to force the oil out somewhere!
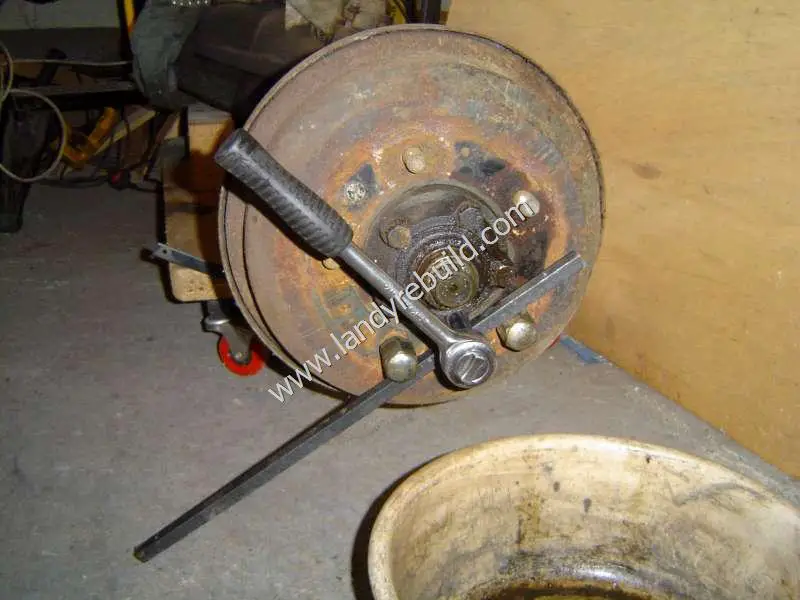
The first task was to remove the hubs. In order to stop the hub from rotating whilst undoing the hub bolts, I used a length of steel bar. The wheel nut threads are protected by replacing two of the wheel nuts:
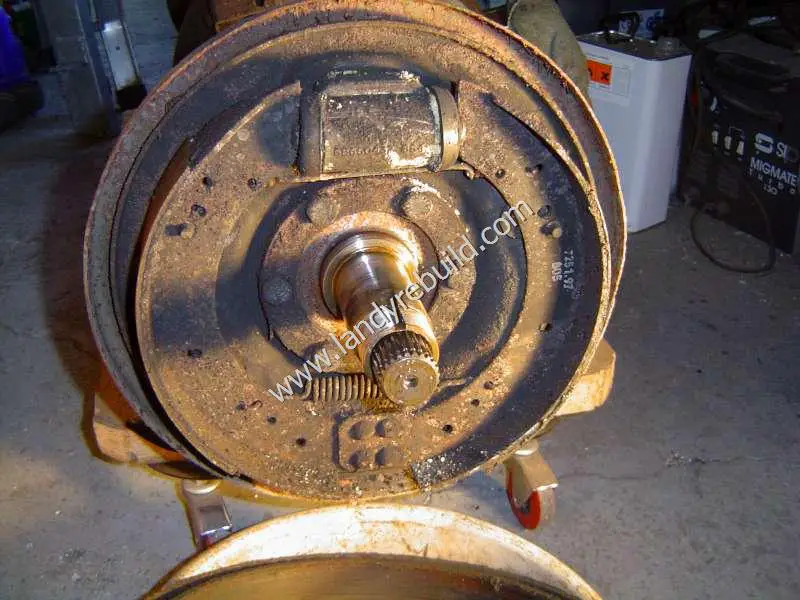
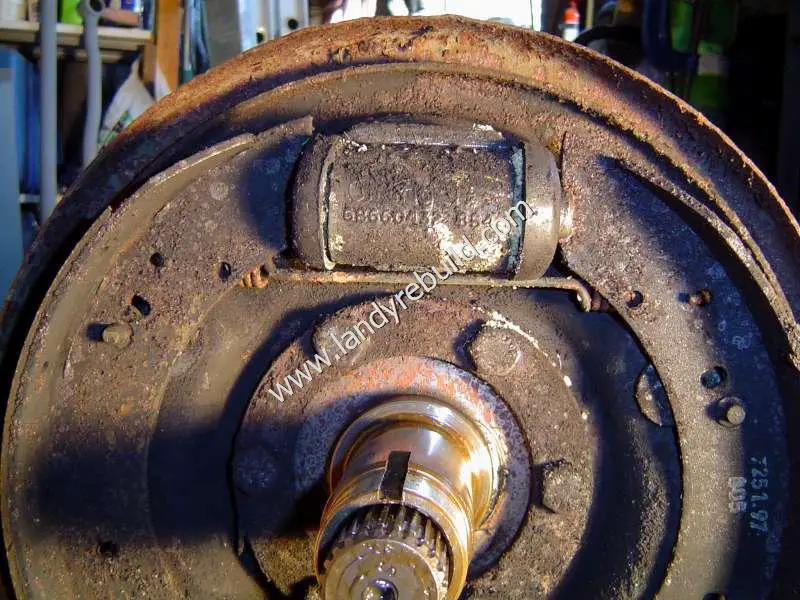
With the rear hub removed, the brake drum could be taken off. The second photo shows a closer view of the rear brake cylinder, which will be replaced.
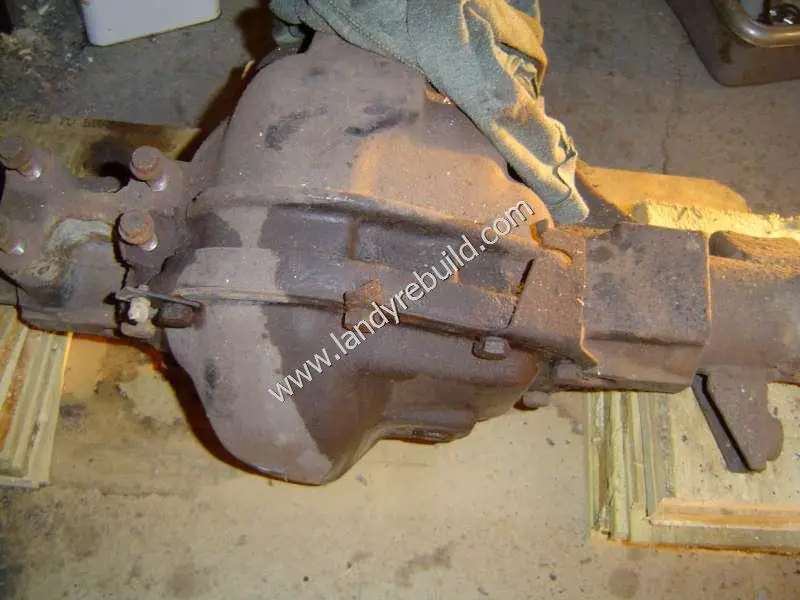
Here's a better view of the Salisbury diff before I removed the cover plate to inspect the insides:
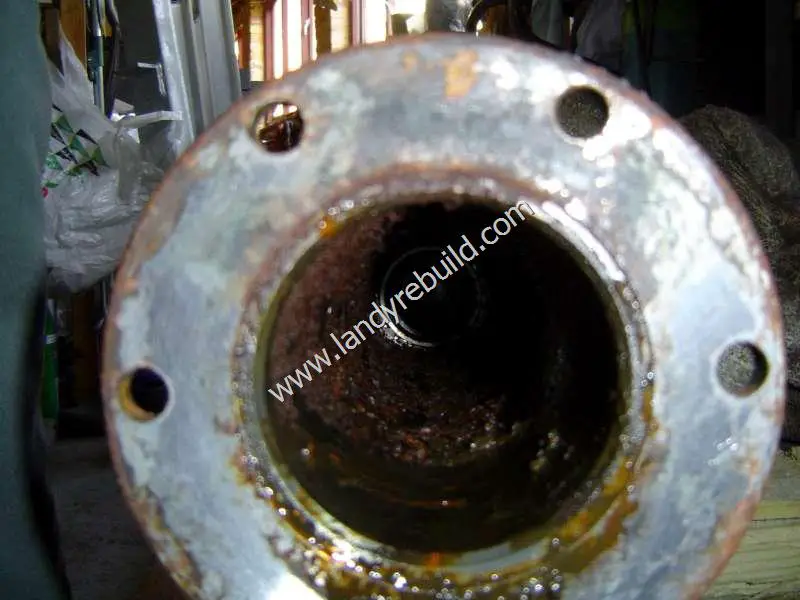
When the half-shafts were removed, I noticed some flakes of rust fall out. It turned out the inside of the axle casing was quite rusty; all the loose flakes were removed by using a home-made circular scraper on a broomstick!
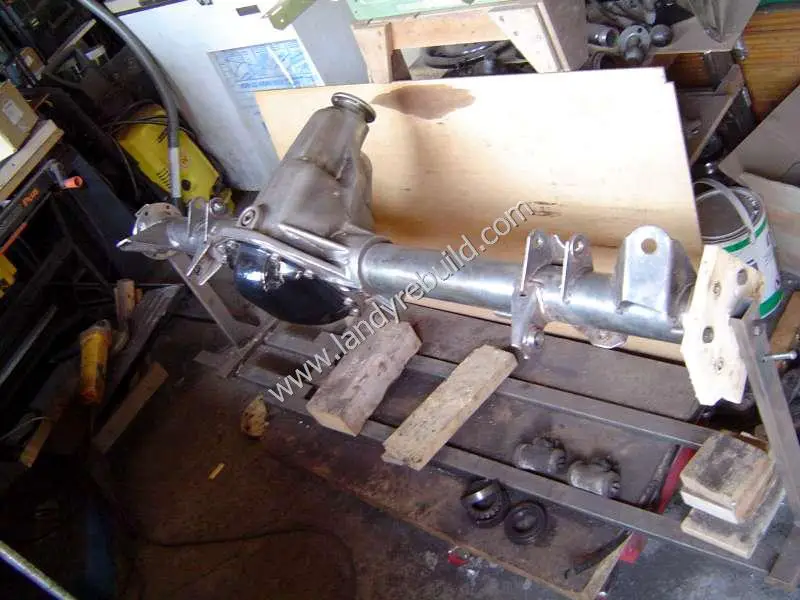
I then got busy with a wire brush on an angle grinder to remove all the old external rust and paint. The home-made axle stand was really useful here!
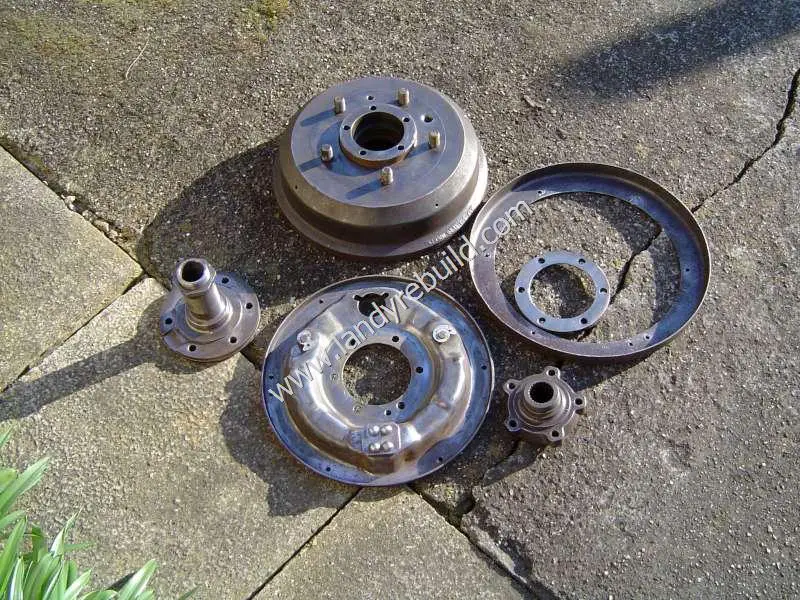
The rear hub was then completely dismantled into its component parts ready for painting. I drilled out the spot welds to separate the mud shield.
Once everything had been cleaned and degreased, the axle and component parts were painted with a coat of zinc-rich primer, followed by two coats of black Hammerite.