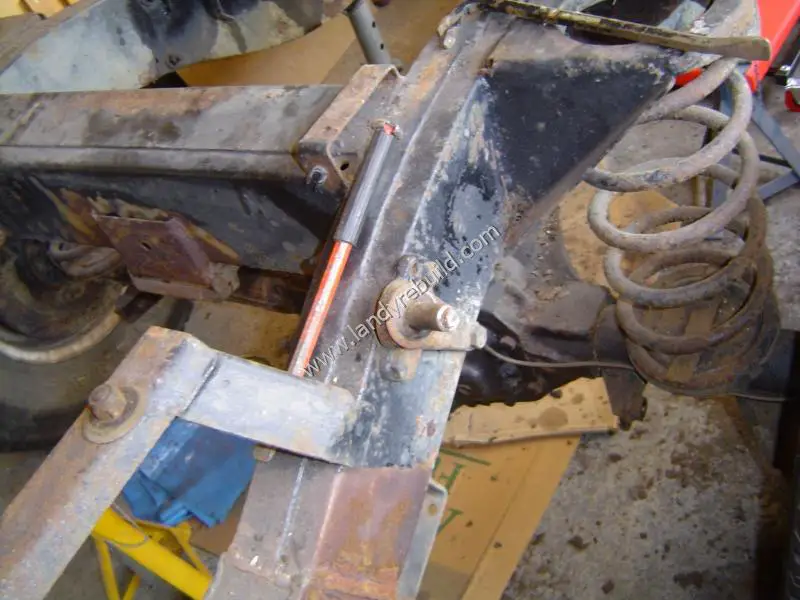
For the rear axle removal, I started by removing the shock absorbers. Both were in a pitiful condition. The photo below is of the left rear. Note also the orange wire running along the top of the chassis. It was a length of ordinary 2-core flex like you find in an electric lawnmower. The front end went to the battery positive and negative terminals. The rear wasn't connected to anything!

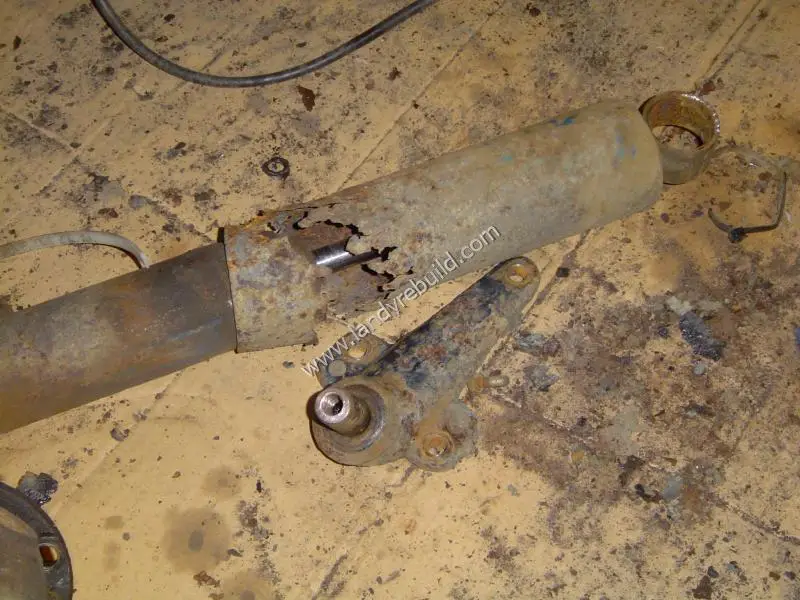
Unfortunately when it came to removing the right rear shock absorber, the upper mounting bolt sheared off completely. However, as these will be replaced with Scorpion Evolution parts (allowing 2" extra droop) I wasn't too concerned.
I'm surprised the shock absorbers were working at all; they were well past their best!

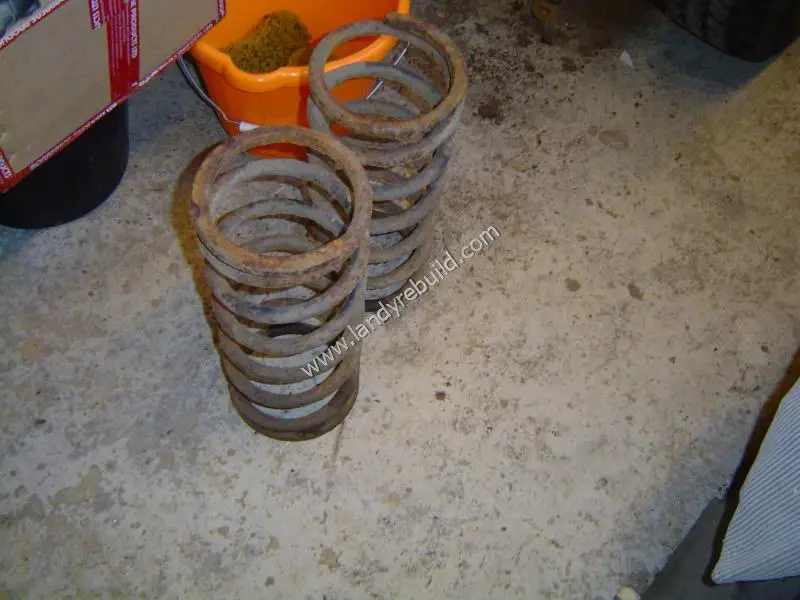
I then supported the chassis on axle stands, positioning these in front of the rear wheel arches. Using my hi-lift jack I was able to raise the chassis so that the road springs could be removed. These will be replaced with new ones.
The brake line was then disconnected from the junction on the chassis near the right rear wheel, and the propshaft was disconnected. Having access to the propshaft from above (as the rear tub has been removed) made this a really easy job. At this stage the road wheels were still on the axle.

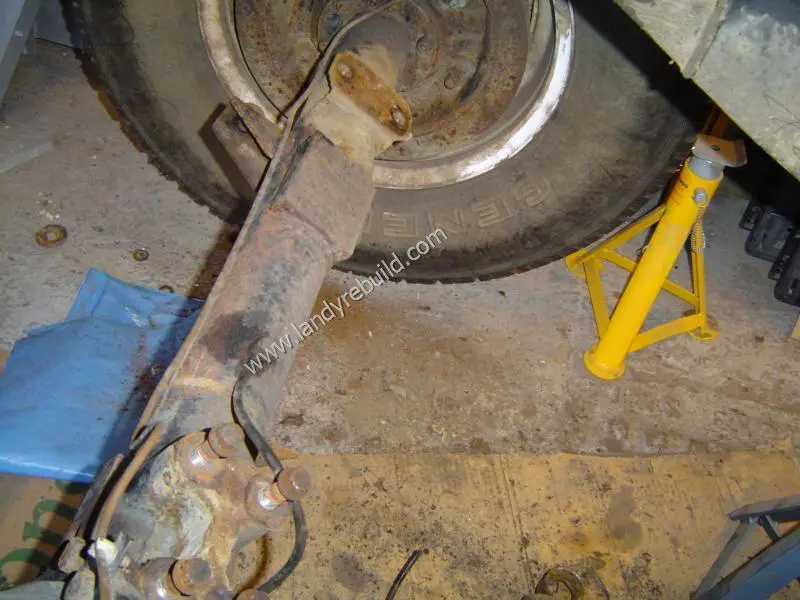
The rear lower links (also known as trailing arms) were then removed. Firstly the nut and bolt securing the lower link to the axle was removed, and then the three nuts and bolts which fix the forward link mounting to the chassis. These lower links will not be renovated; I'm replacing them with new cranked trailing arms to allow extra axle articulation.
The anti-roll bar was also removed at this stage. My plan is to leave it off the vehicle to improve axle articulation; but I'll see what the handling is like on-road. If it wallows too much in corners I may re-fit it.
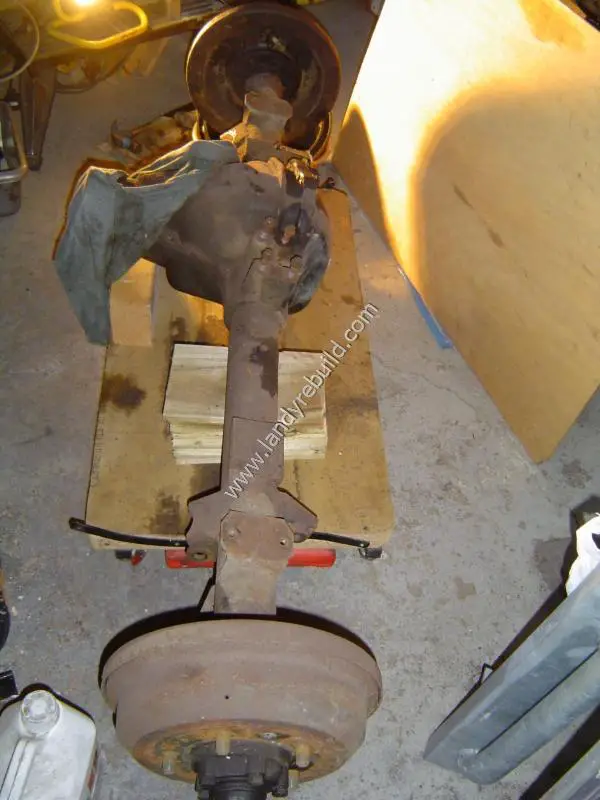
The Boge self-leveller unit was then removed together with the top links.
Finally I removed the road wheels, and lowered the axle onto the mechanic's creeper, so that I could wheel it to the back of the garage for renovation.