The final task before starting the renovation of the chassis was to remove the fuel tank. Mine is a petrol-fuelled model, but the procedure is the same for diesel fuel tanks.
The filler tube and breather tube seemed to have been glued to the filler neck with some sort of epoxy, so I had no alternative but to cut through them with a hacksaw. This was done prior to the removal of the rear tub.
Next, the fuel pipe connections were loosened, and the wiring to the sender unit was removed.
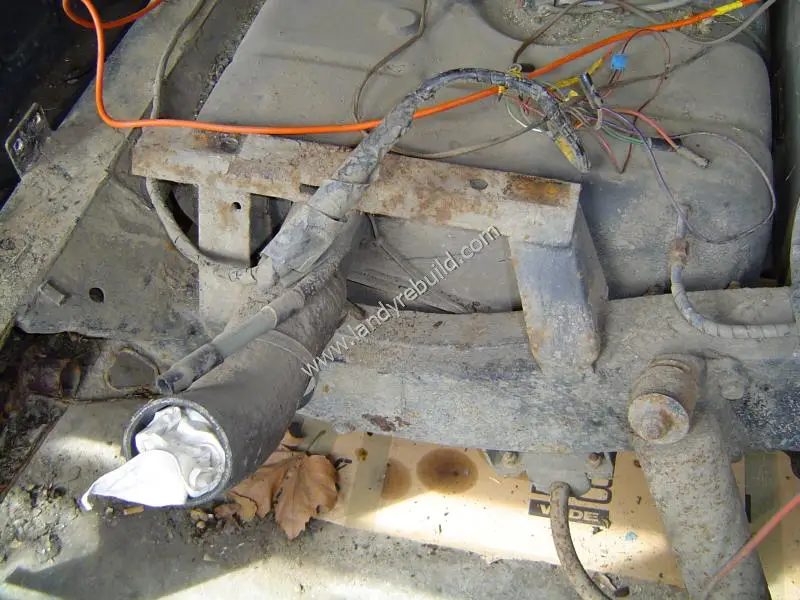
Underneath the tank is the drain plug. This was removed and the fuel drained off. It's advisable to do this when there is as little fuel in the tank as possible. A cunning way to drain the tank is to use the petrol pump - just disconnect the fuel pipe at the carburettors, and insert the end into an empty jerrycan before switching the ignition on. (This is of course assuming you have an electric fuel pump in working order). Whatever remains in the tank can then be drained through the drain plug.
The tank is held in place by two bolts at the front, and two bolts at the rear. The tank was supported underneath using a trolley jack - even when empty, it's quite heavy.
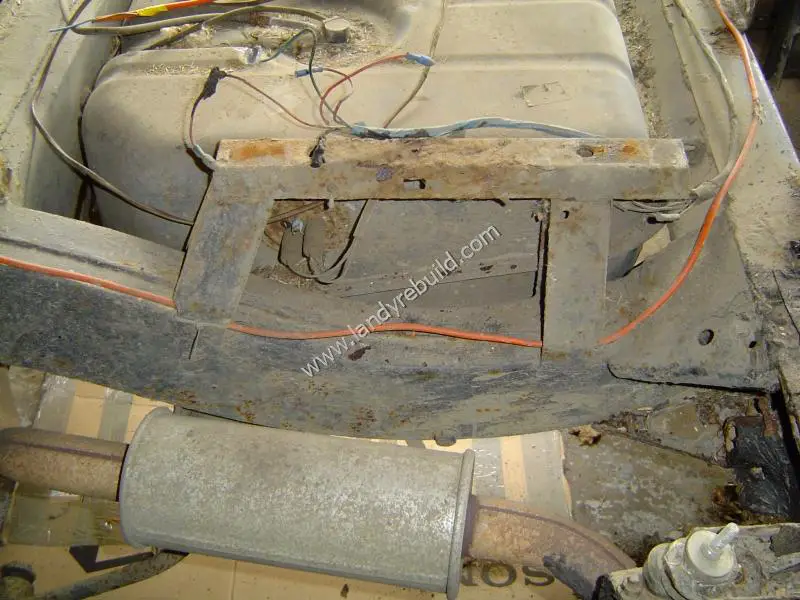
The petrol tank removal now enabled the replacement of the rear crossmember to be carried out.