Huh? Indicator switch modification? What's wrong with the indicator switch? Why does it need modifying? Well, for a right-hand-drive car, it seems logical to me that the indicator switch should be on the right-hand side of the steering column. I seem to be one of those increasingly rare individuals who actually bothers to use indicators, especially at roundabouts, so the fact that it's on the left bothers me. You can't indicate and change gear at the same time.
Every previous car I've owned has had the indicator switch on the right. Except for the Land Rover 109 of course. So, as I had already removed the steering column in order to renovate the bulkhead and dashboard, I thought I'd see if anything could be done about this.
With the steering wheel removed from the shaft, the switch housing was very easy to remove.
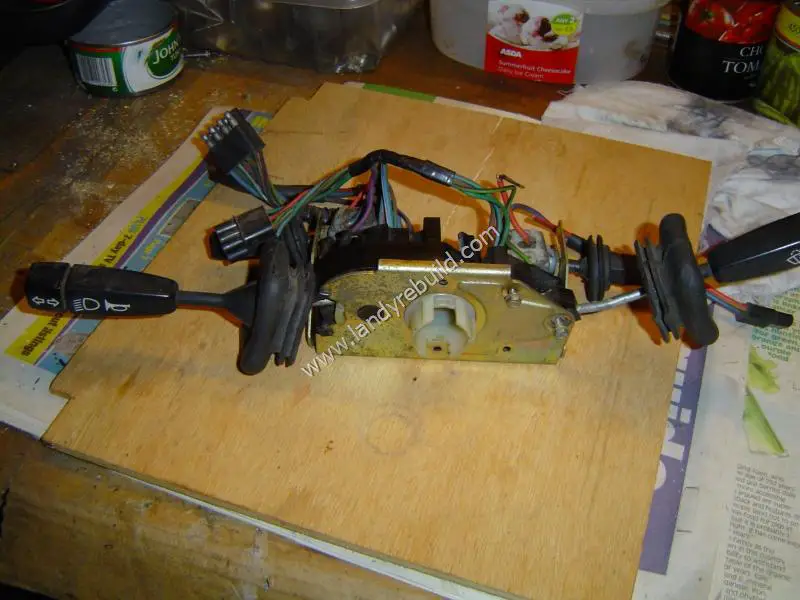
Now, how to modify it so that the indicator switch is on the right? Eureka! Turn it over!
By removing a couple of bolts, I detached the metal housing frame from the switches.
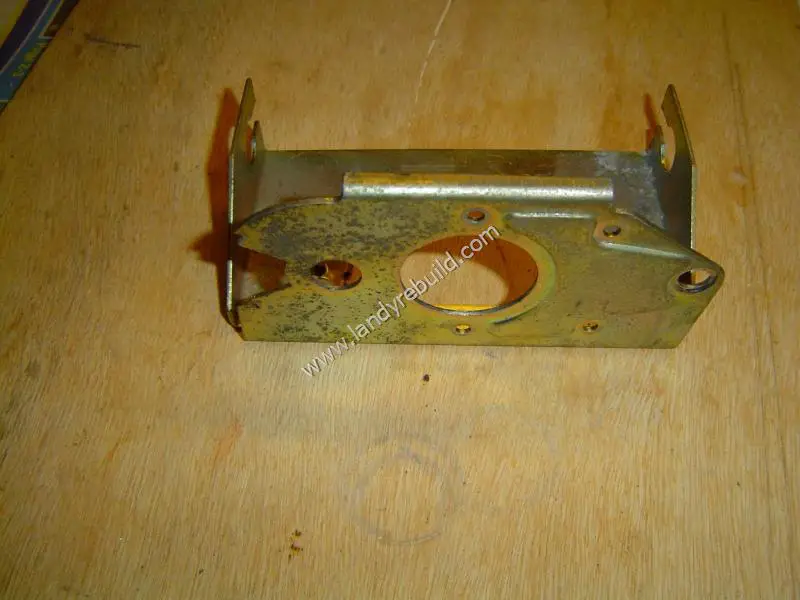
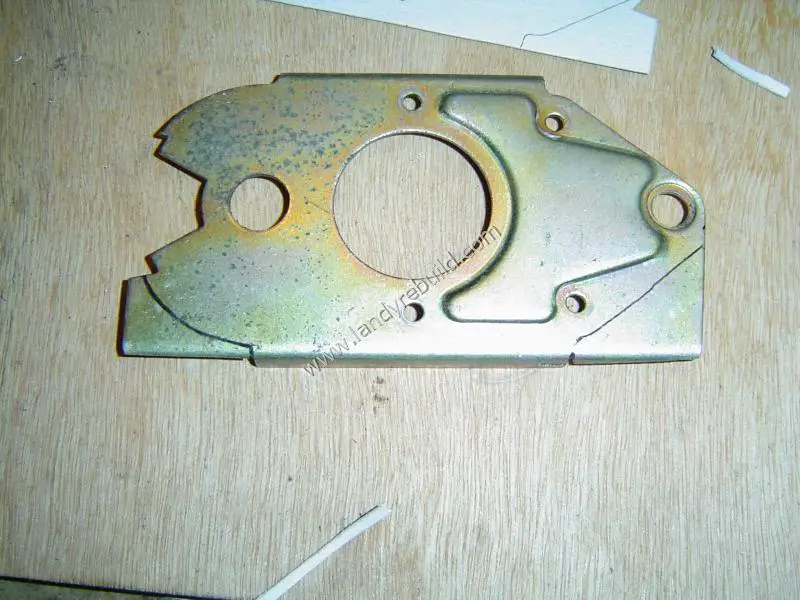
Hmm. You can't just turn it through 180°, as the mounting plate will then be at the top. Ah-ha! Move the mounting plate to the other side then! I carefully marked out a cutting line, mimicking the shape of the other side of the mounting plate, and then using a hacksaw, made the cut.
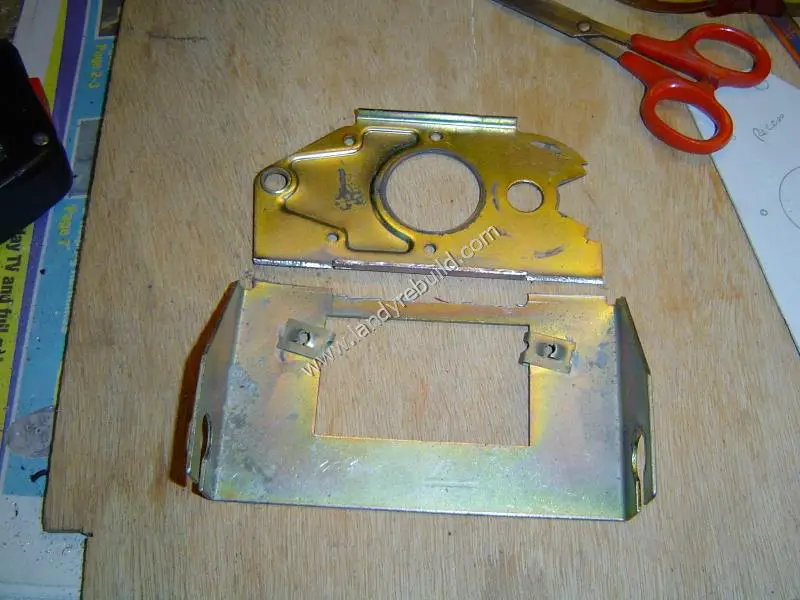
I then used a cardboard template to mimic the shape of the opposite side and repeated the process:
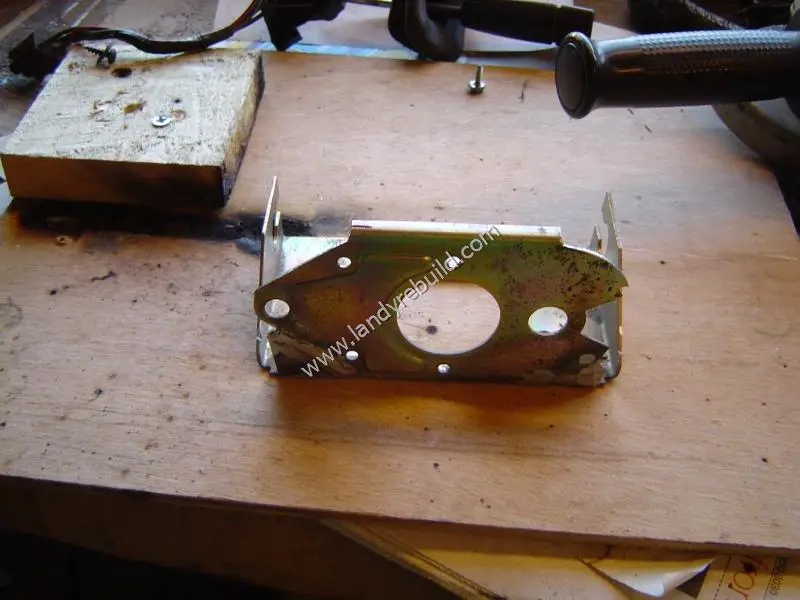
The pieces of the now-reversed housing frame were then welded back together:
A coat of Unidox primer and two coats of silver hammerite followed, and the plastic switch housings were then reinstalled. Both the main light stalk and rear fog stalk (the two shorter stalks) can be dismantled. The stalk itself is attached to the housing with a metal pin. These pins were drifted out, the stalk rotated through 180°, and the pins then re-inserted. If this is not done, the labels on these stalks will be facing downwards instead of being visible to the driver.
If the plastic steering column switch housing itself (the thing which the steering tube passes through) is in perfect condition and not worn at all, you will need to cut a small slot in the steering column tube at 180° to the existing slot, so that the small plastic protrusion (enabling the self-cancelling of the indicators) fits properly. Mine was worn off entirely so I didn't need to do any cutting.
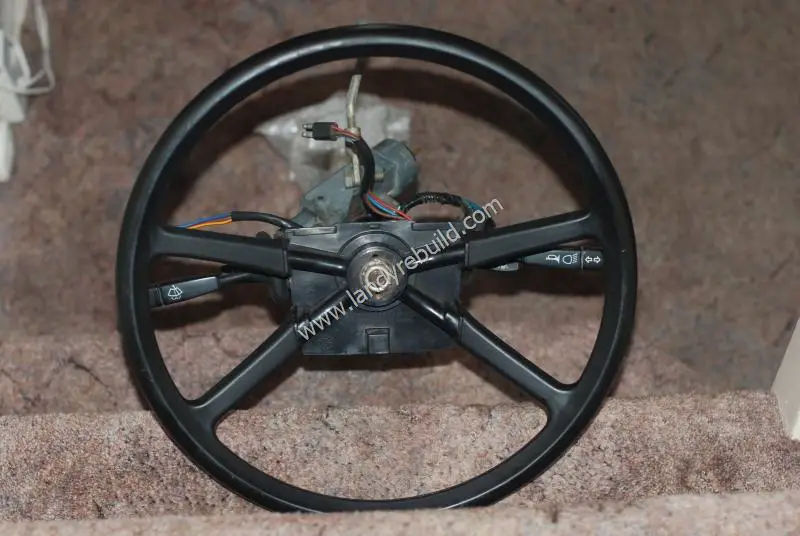
The entire housing was then refitted to the now-refurbished steering column and the steering wheel re-attached. The following photo shows the steering wheel in its normal driving position - note that the indicator switch is now on the right. Of course the labels on the indicator and wash/wipe switches are now upside-down, but unless I'd mentioned this, I don't think you'd have noticed!