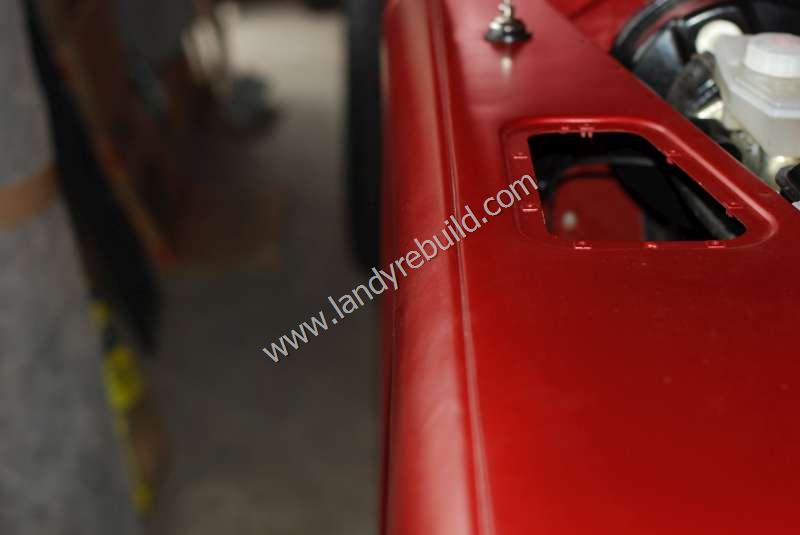
With the bulkhead reinstalled, it was time to refit the renovated front wings. The inner wheel arch had been painted with a coat of zinc-rich primer, followed by two coats of silver Hammerite. However, I had a concern regarding the effect of stone chips rapidly destroying the nicely-renovated wheel arch, so a further two coats of Protectakote load bed paint was applied (I had quite a bit left over from the rear tub renovation). This rubber-containing paint should also prove hardy against any stone chips as well as reducing road noise due to any possible resonance in the panel.
For the front wing reassembly, the first task was the reinstallation of the captive nuts on the bulkhead, four for each wing. The installation of these nuts was fairly easy, but I had tremendous fun reaching up inside each wing to do up the top bolt! The process took a lot longer than I would have liked.
Once these bolts were tightened, I then installed the three lower bolts along the lower internal edge of each wing, connecting it to the chassis. (I later had to undo these again in order to get the bulkhead to line up correctly - lesson learned). With the wings in place, I then installed the headlights, sidelights, indicators and side repeaters. I used new insulated bullet connectors as the old ones had corroded internally.
I also took this opportunity to install the new radio aerial in the driver's side front wing. Fortunately I didn't need to drill any holes as I was just replacing a previously broken aerial.
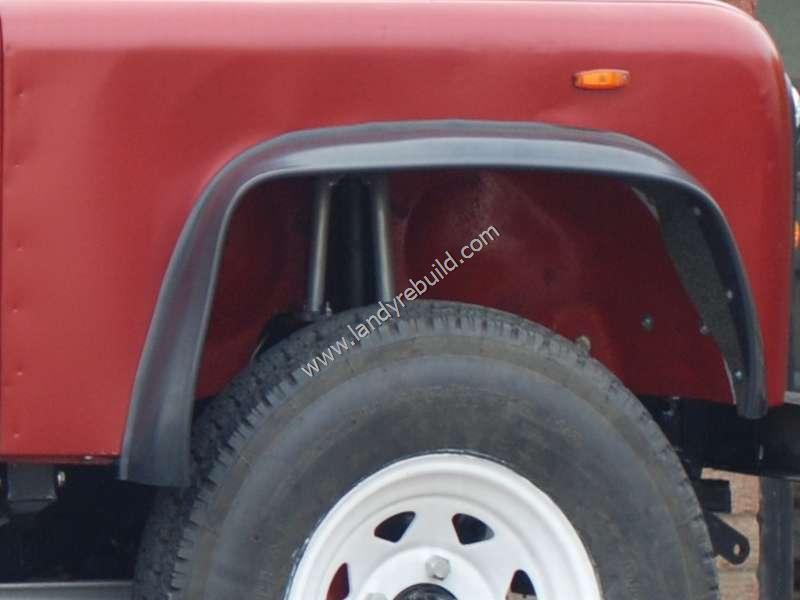
Now it was time to install the "eyebrows" or mudguards. The old ones had either cracked or split, and as I did not particularly want colour-matched replacements (and plain black OE eyebrows were no longer available) I managed to obtain some slightly wider aftermarket eyebrows. The advantage of this is that these wider ones fully cover the protrusion of the tyres. If the tyres protrude beyond the bodywork it is considered an MOT failure. The disadvantage of the aftermarket eyebrows was that the front ones did not have an inner section shaped to fit the inside of the wheel arch. This left a gap between the eyebrow and the inner wing, so I cut out some shaped strips of bituminous roofing felt (left over from a domestic flat roof repair) to waterproof this area. Instead of using the original plastic plugs, stainless steel bolts were used, lining up with the hole in the eyebrow, a hole in the felt, and the original hole in the outer lip of the front wing. The felt was installed first:
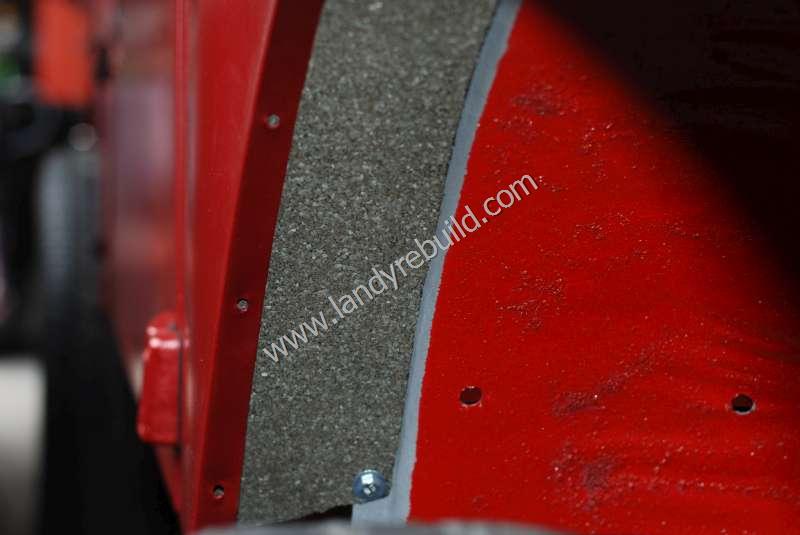
...and once I was happy with its location, the rubber eyebrows were installed. The more eagle-eyed among you will notice that the felt has sagged slightly at the front in the following photo; this was later remedied by the installation of another small stainless steel bolt into the inner wheel arch.